The Bohemian’s Guide to Compact Cassette, or How to Get Into Cassette Tapes in 202(4), Part Two – The Art of Recording
2024/07/20
Another Update on Everything in General
Major yap sesh ahead. You know how it goes. Click here to skip ahead.
There’s an interesting thing people do. We forget.
We are every one of us products of the past, equally blessed by its culminating triumphs and even more equally haunted by its lingering horrors. The river of time cares not for what it flows through, nor who dwells in its rushing waters; it simply is, as endless as the stars guarding the void and as stolid as the light of their blinding fires, burning in eternal vain to hold back the darkness. One day we’ll all die, washed away into insignificance, but in those brief moments we stand and brace the currents of time it inevitably shapes us into who we are.
Against this we humans fight. We bite and we thrash in the icy rapids, and in our hatred and greed we scarcely hesitate to step on each other for a chance to break above the surface, and against our own hatred and greed we fight even fiercer. We spill blood for the promise of power, power to afford us legacy. We spill blood for, even more tantalizing, the promise of liberty, for no legacy built on blood can ever benefit those who do not spill its foundation.
And then once the blood dries, we so often forget. Somehow we forget what it’s all for, this endless struggle, and so the struggle remains endless, or at least until none of us remain.

New home

Old home
The fact that I gave myself brain damage during my first year at college doesn’t help. Between chronic sleep deprivation self-induced through a (very likely) undiagnosed cocktail of ADHD and autism, drinking and partying, and smoking weed (albeit occasionally), there definitely isn’t as much memory or cognitive capacity up there as there used to be. This culminated in finals week, which while not as bad as fall semester finals still definitely took a lot of strength and brain cells from me.
Remembering, often, isn’t much better. The cruel physics of reaching back against the flow of time is that the more you do it, the more it hurts you. And coming back to Vancouver, back to my family, it’s hurt a lot more than I thought. I came out as bisexual to parents who had once promised they would be supportive, and. Guess what. They were not. I guess it’s one thing to know queer people exist, and another to find out a kid you’ve raised all these years has been queer all along, but they have been very unsupportive of how I dress now—which for the record in this case (90s/00s skater emo) is only slightly different from before and very much within the bounds of cishet fashion—and are in denial that I’m queer at all. Biphobia reigns in the domain of heteronormative domesticity. It is somewhat fair since they don’t know I’m non-binary yet, but still. I also have few friends at home, and though this summer has been similar to the last I’m much more lonely now knowing what it’s like to not be alone, and not having the moral support of my parents. I’m trying to fill every moment of my days with tasks, things to create and errands to run and opportunities to seek, and my part time job at a local studio has helped me feel useful and productive, but I know deep down I’m not happy with the way things are now.
At least I still have my website. That’s a legacy of sorts, I suppose, and it’s something I’m very proud of and had always wanted as a kid. So here I am, a ripple of my own in the river of time, reaching back into the past to finish something I promised nearly a year ago: I’m writing part two of my Bohemian’s Guide to Compact Cassette.
Let’s get started!
(By the way if you’re wondering about the one-week update I promised in my Pride Morse Manifesto post, nothing really happened after I handed out the pamphlets, so I didn’t have anything to report on.)
Walkman Surgery
For this article, I want to eventually get into tape recording, but before we do that it’s important to know about cassette player maintenance and repair. This is because most old tape players you’ll find probably won’t even play a tape properly, let alone record one.
Compact cassette is a complicated thing. Not as mind-numbingly complicated as the digital streaming systems we use nowadays, but a look inside the guts of a cassette player will still reveal a veritable mess of electromechanical systems. And in the intervening decades between compact cassette’s decline and the modern day, any one of those systems could have broken down in a cassette player and rendered it useless.
Fortunately, many of these issues can be fixed with simple tools and enough determination. Picking up where we left off in part one of the series, let’s go over the basic anatomy of a cassette player.

All cassette mechanisms aim to advance the tape part of a cassette at a smooth and consistent 4.76 centimetres per second. This is done with three components—a motorized spool (1), a pinch roller (2), and a capstan (3)—all rotating in concert. The pinch roller and capstan pinch down on the tape when the mechanism is engaged and roll it at a constant speed, while the motorized spool ensures the take up reel of the cassette is, well, taking up the reel.
The first and most common issue, which I made passing mention of in the first part of this series, is the belt.

A cassette player I'll be using as an example.
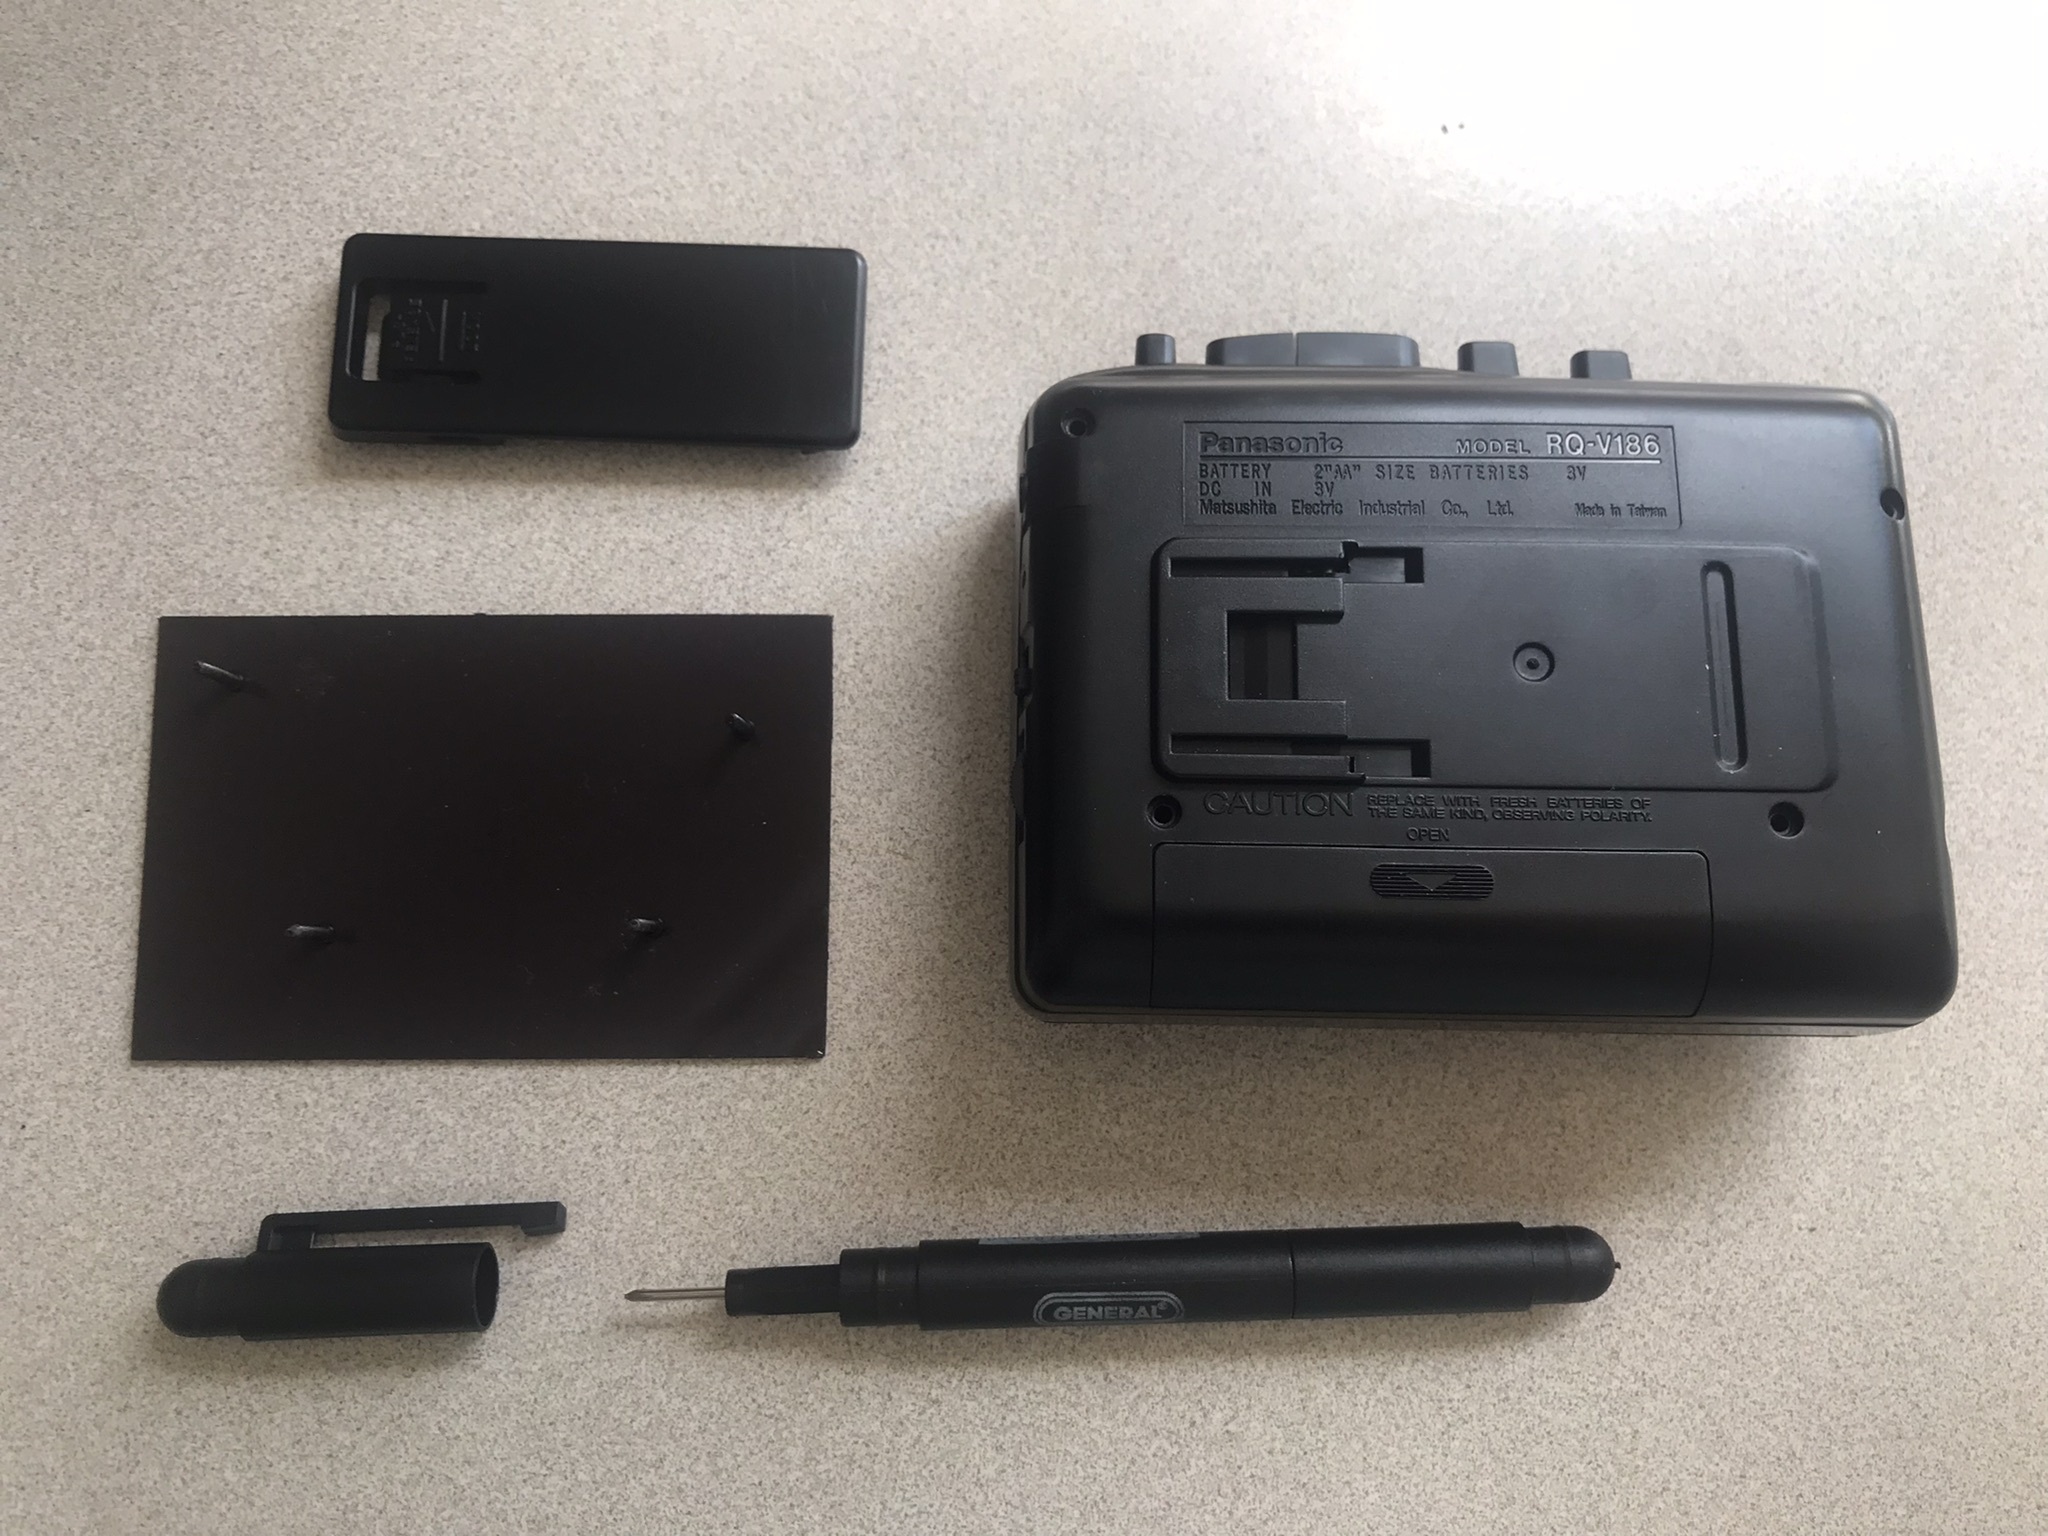
Disassembly. The backs of fridge magnets are good for holding screws.
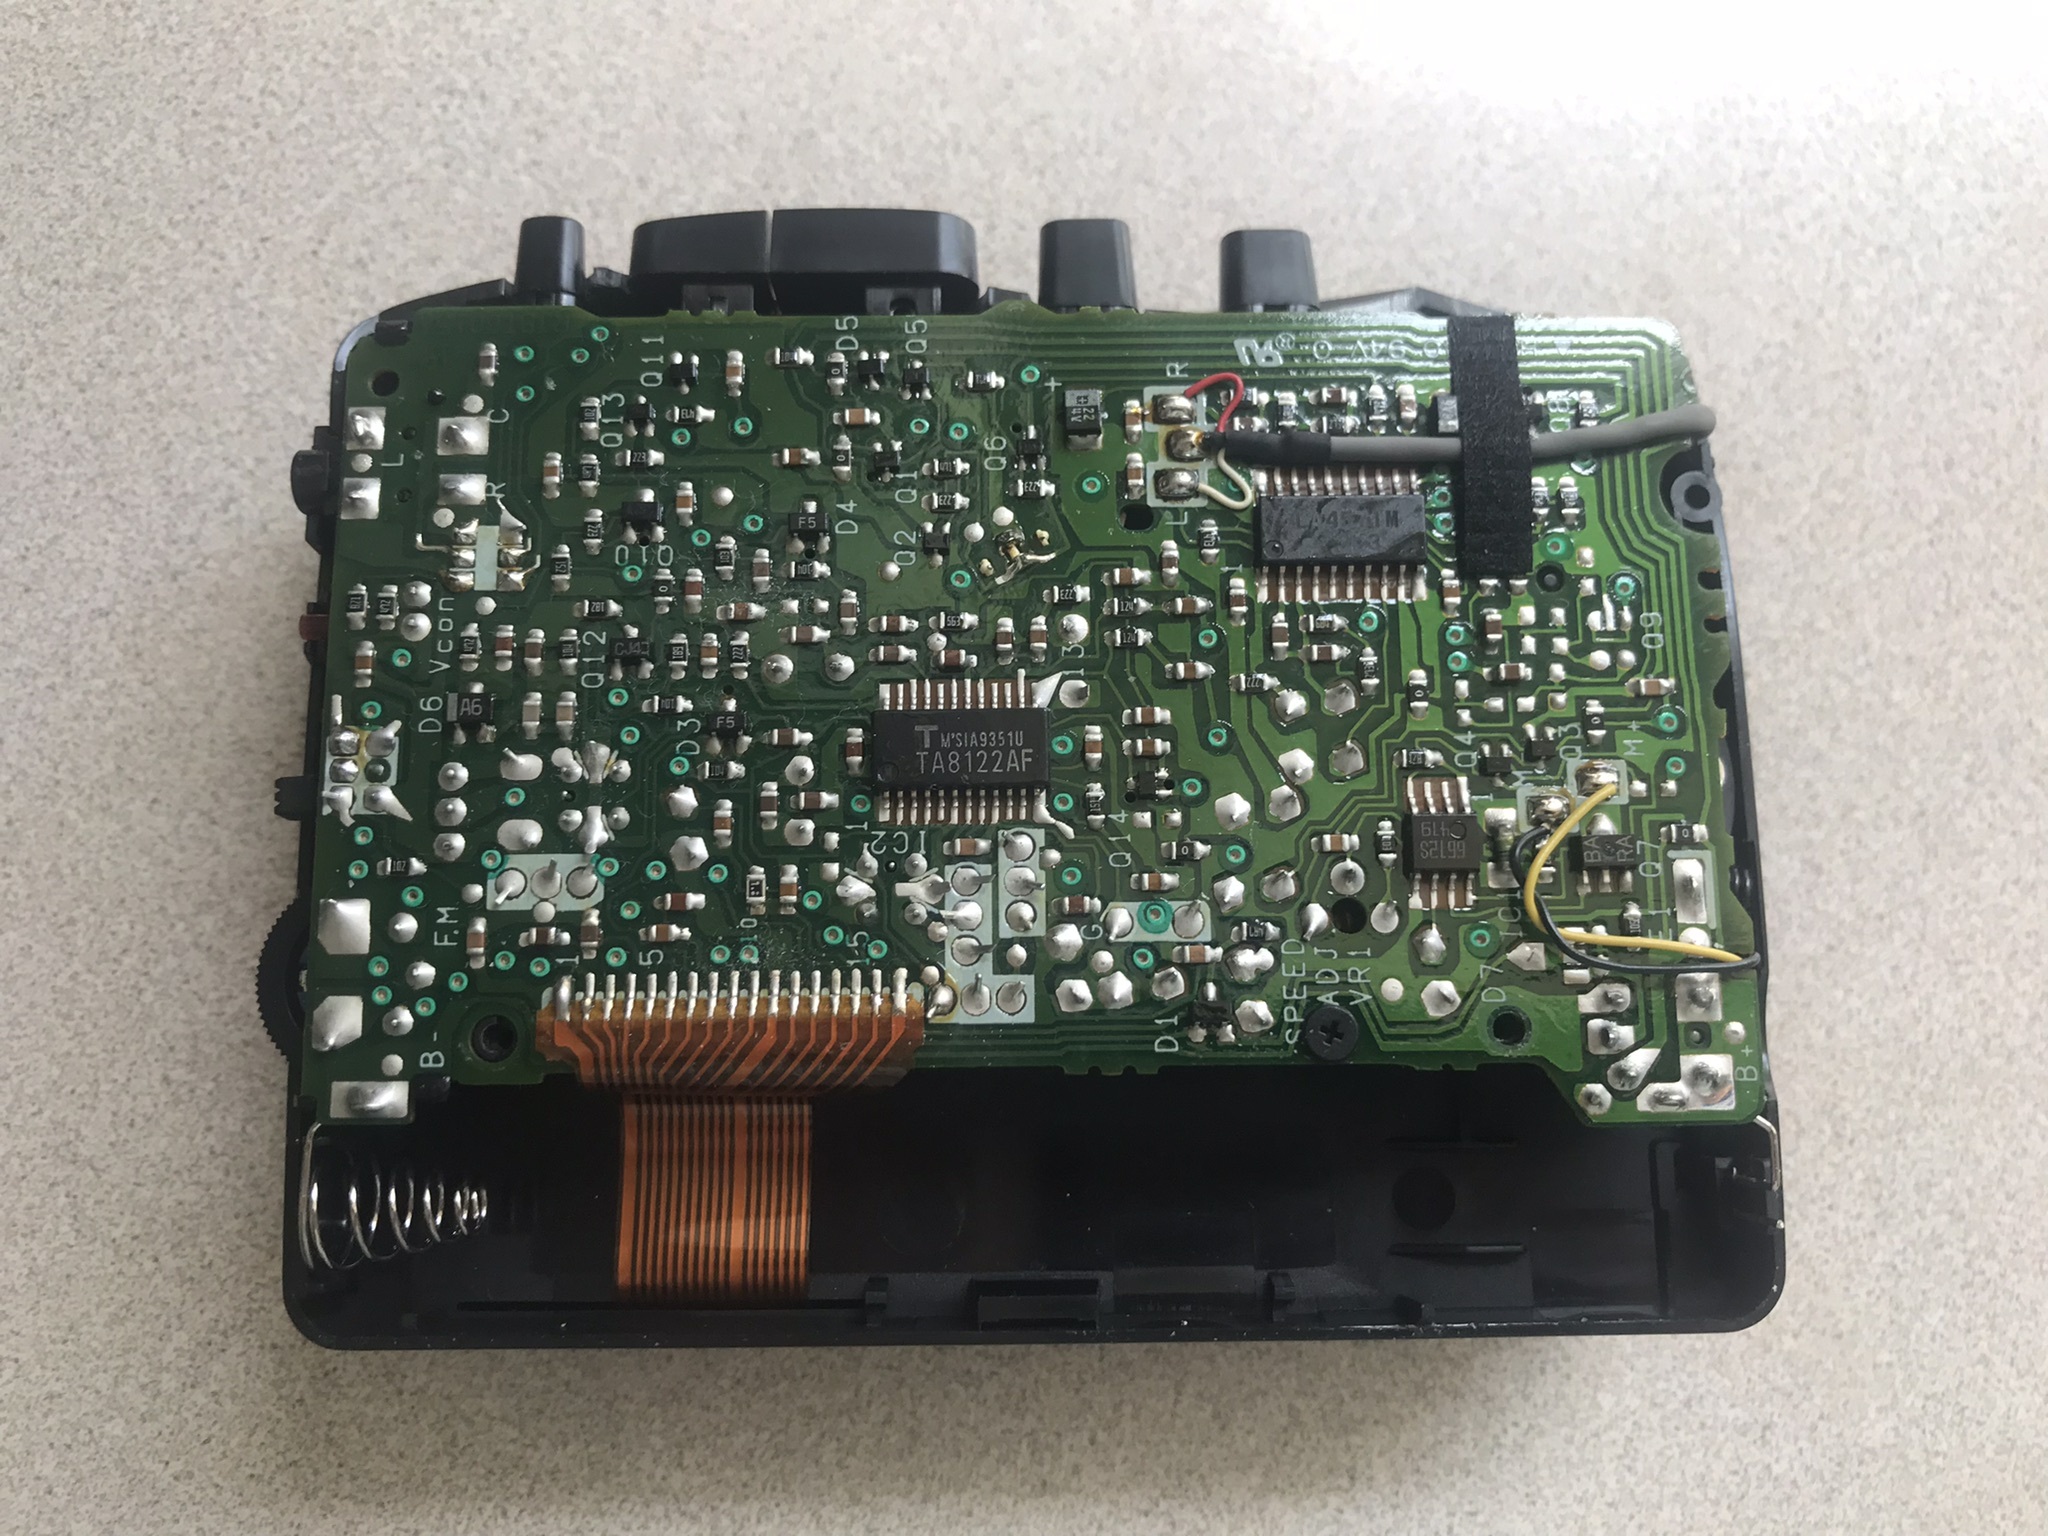
Exposed circuit board.

Belt mechanism behind circuit board. This one is intact, but if you see black goo instead of a belt like this, you've got work to do.
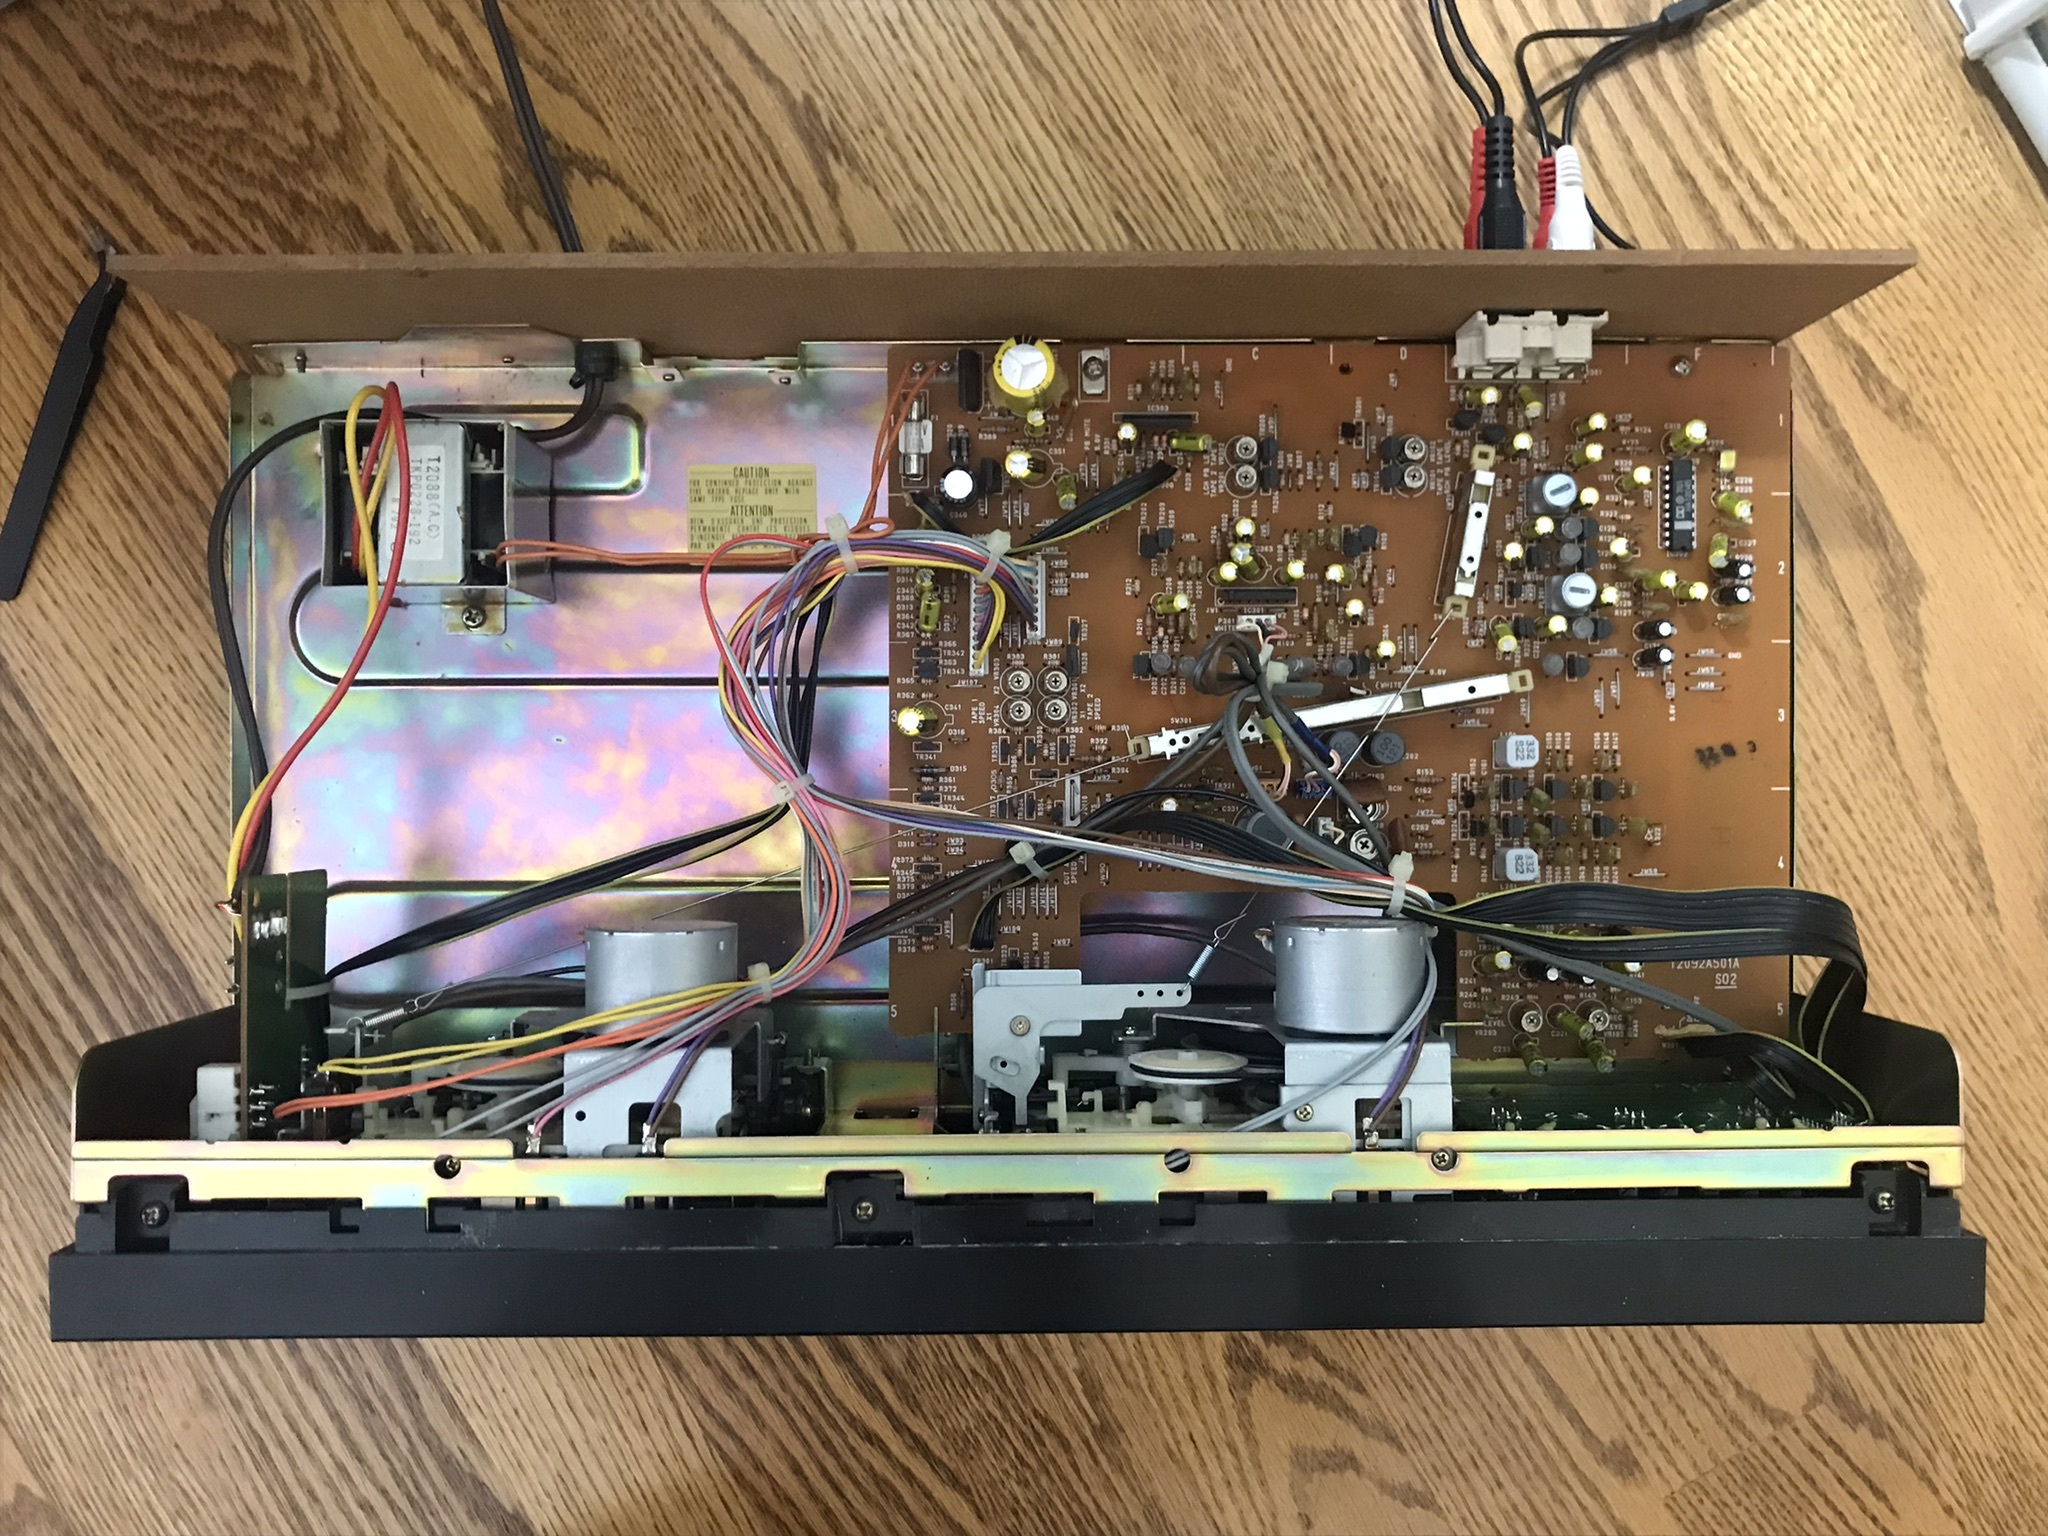
A disassembled tape deck. Larger format, but fundamentally similar internals.
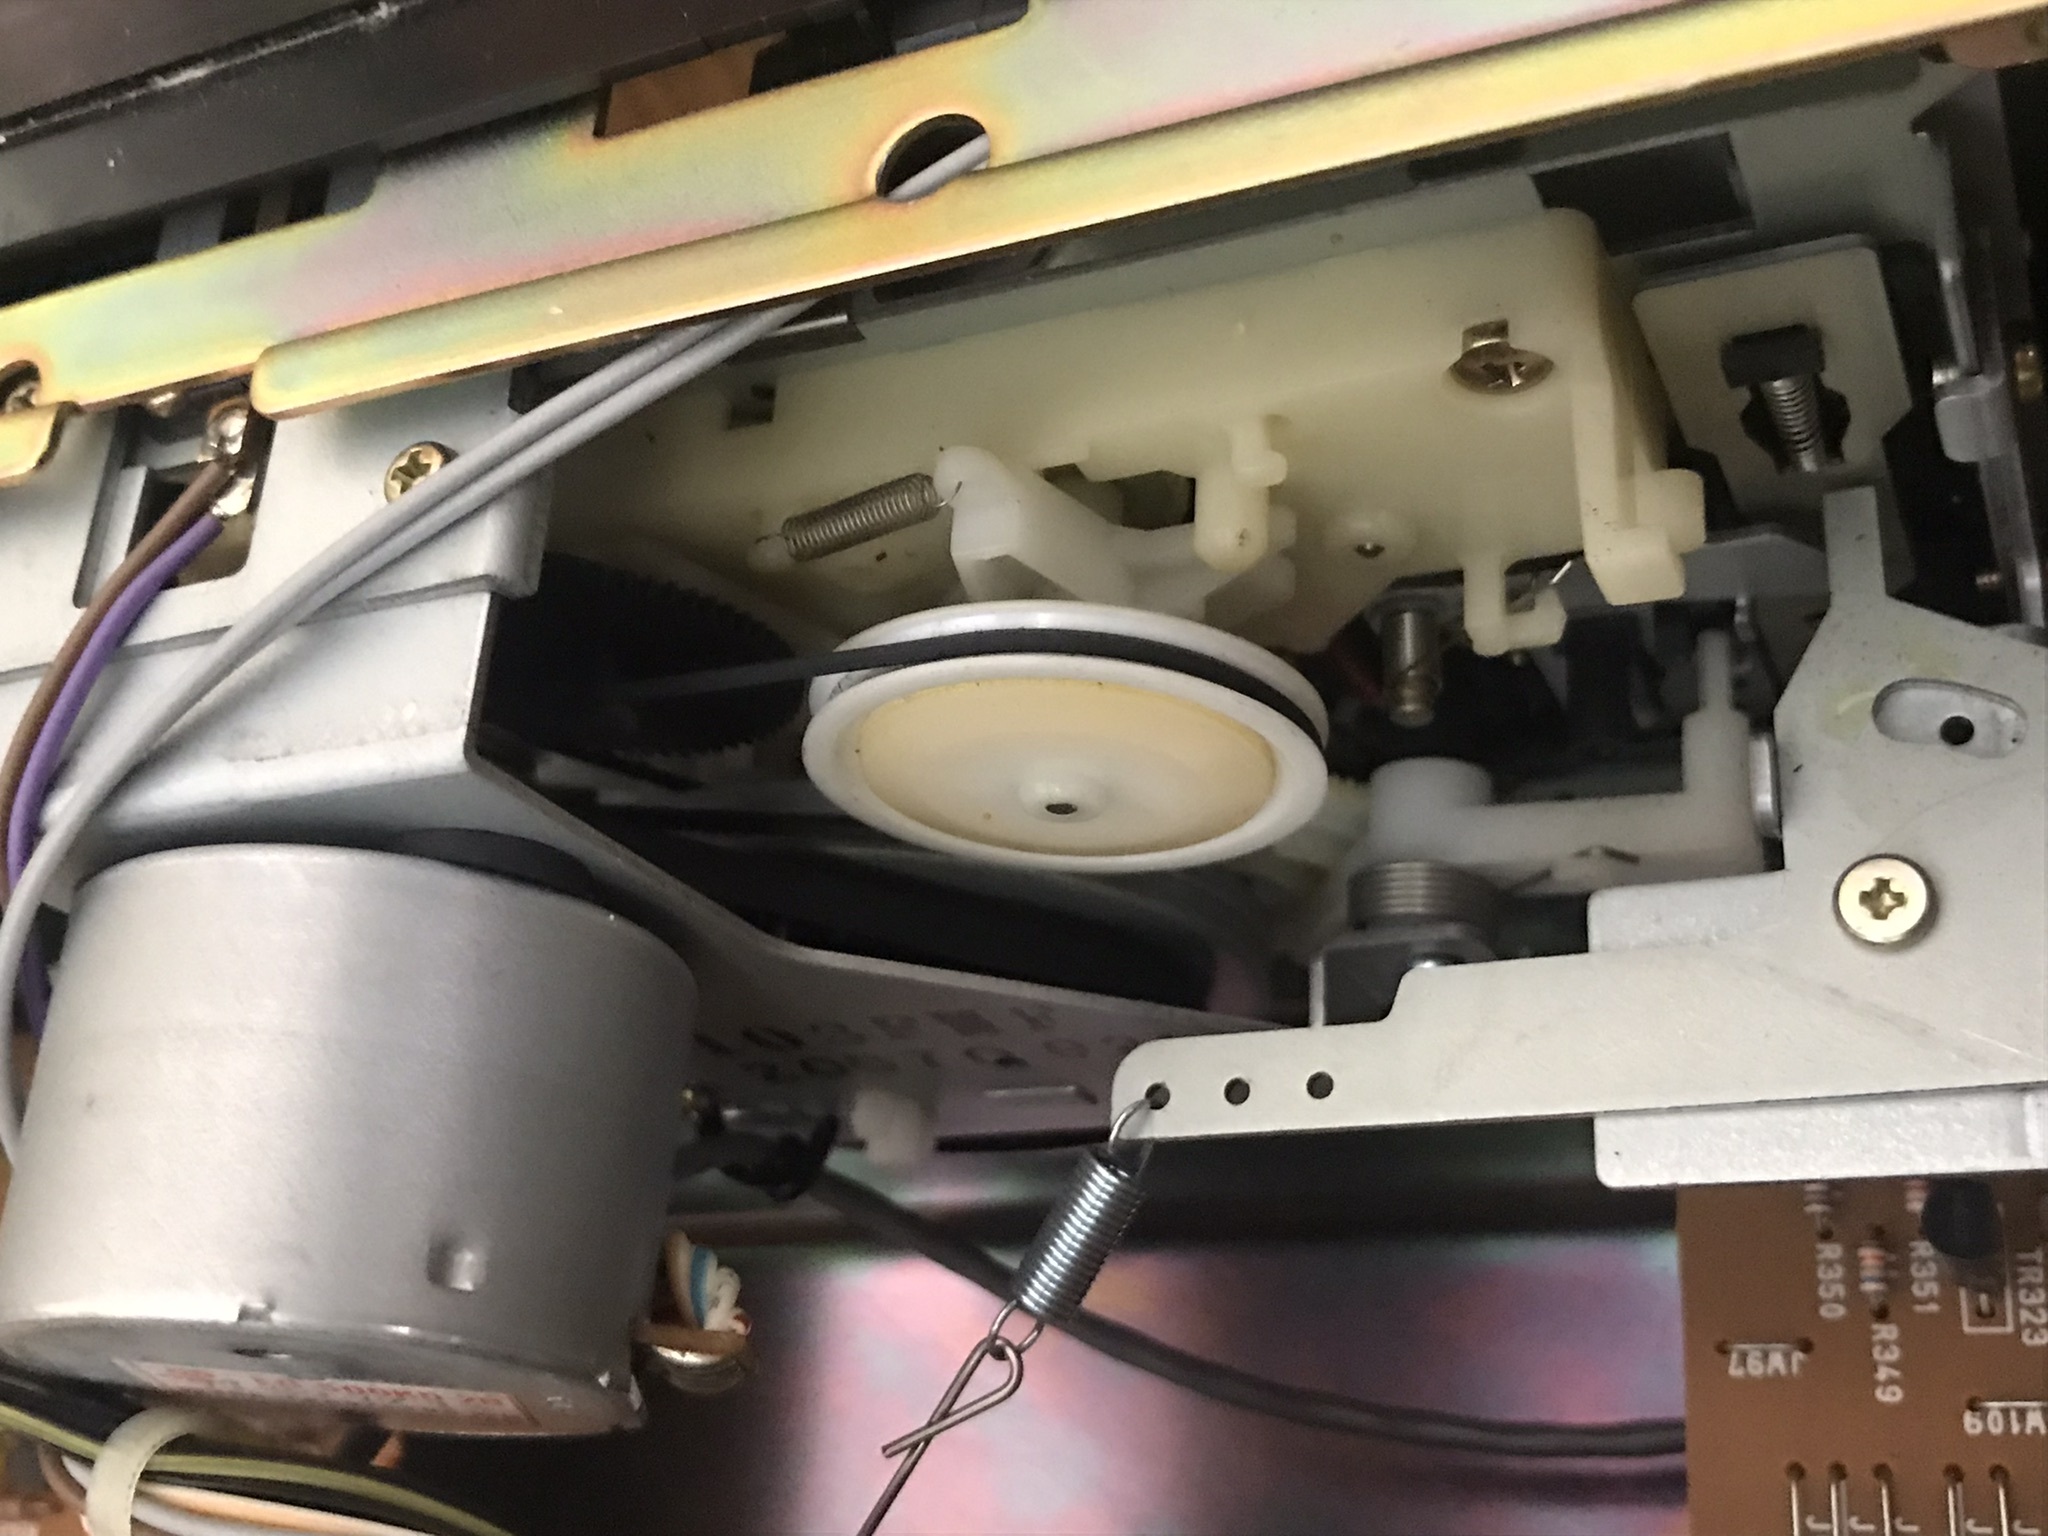
The multiple belts of my tape deck–a thin driver belt above, and a wide flywheel belt below in the dark nook.
See, the advancement mechanism needs to rotate as smoothly as possible to avoid audio distortion issues such as flutter (rapid fluctuations in pitch) and wow (gradual fluctuations in pitch). Because an undamped motor is inherently jittery, almost all mechanisms opt to use a rubber belt to smoothly transfer rotation from their motors to the mechanism. Unfortunately, rubber, being made of petroleum, has a tendency to turn back into petroleum given enough time, meaning a large portion of surviving cassette player mechanisms no longer rotate and instead are filled with oily gunk. You can’t turn the gunk back into belt. Your only option is to clean it off and put a new belt on. Fortunately, that’s not too hard.
Replacement belts can be found online for cheap. A quick look on eBay will show two kinds of options: assorted belt packs, and individual belts for specific models. I would recommend the latter option for serious repairs since I haven’t had good experiences with the former, but I would recommend also buying the assorted packs anyways. Rubber bands also work in a pinch, but I do not recommend them as a long term repair solution. All you have to do, then, is to clean off the rubber remains with rubbing alcohol (q-tips work best), and slip a new belt on. If your replacement is from an assorted pack or a generic rubber band, make sure it’s not too loose or tight—loose belts are prone to wow, tight belts are prone to flutter, and both can increase the risk of your mechanism damaging your tape.

A bulk pack of cassette belts.
Fine Tuning
Now it’s time for testing—which brings us to a crucial subject, speed adjustment. All cassette mechanisms have a potentiometer (a knob) which allows you to adjust the speed of the mechanism. This can usually be found on the circuit board and turned with a small flat head screwdriver, though if you’re lucky the knob can be accessed without disassembly. This is important, because even the most minute changes in speed can lead to audible shifts in pitch which are undesirable for listening and doubly undesirable for recording.

A very recessed knob.
As mentioned before, all cassette mechanisms move tape at 4.76 centimetres per second. In order to make sure yours is doing that, put in a prerecorded tape (while the player’s speed knob is exposed), find the same song/album from a digital source, play both at the same time, and adjust the knob until they sync. Provided a separate cassette recorder that has already been calibrated, you can also record a sine wave tone at a set frequency and then use that to callibrate your first player. If you’re really lucky you can also find prerecorded test tone tapes.
By now, hopefully, you’ll have a fully working tape player in your hands. However, don’t reassemble your player just yet—a couple more adjustments can be made at this point to optimize your listening experience.
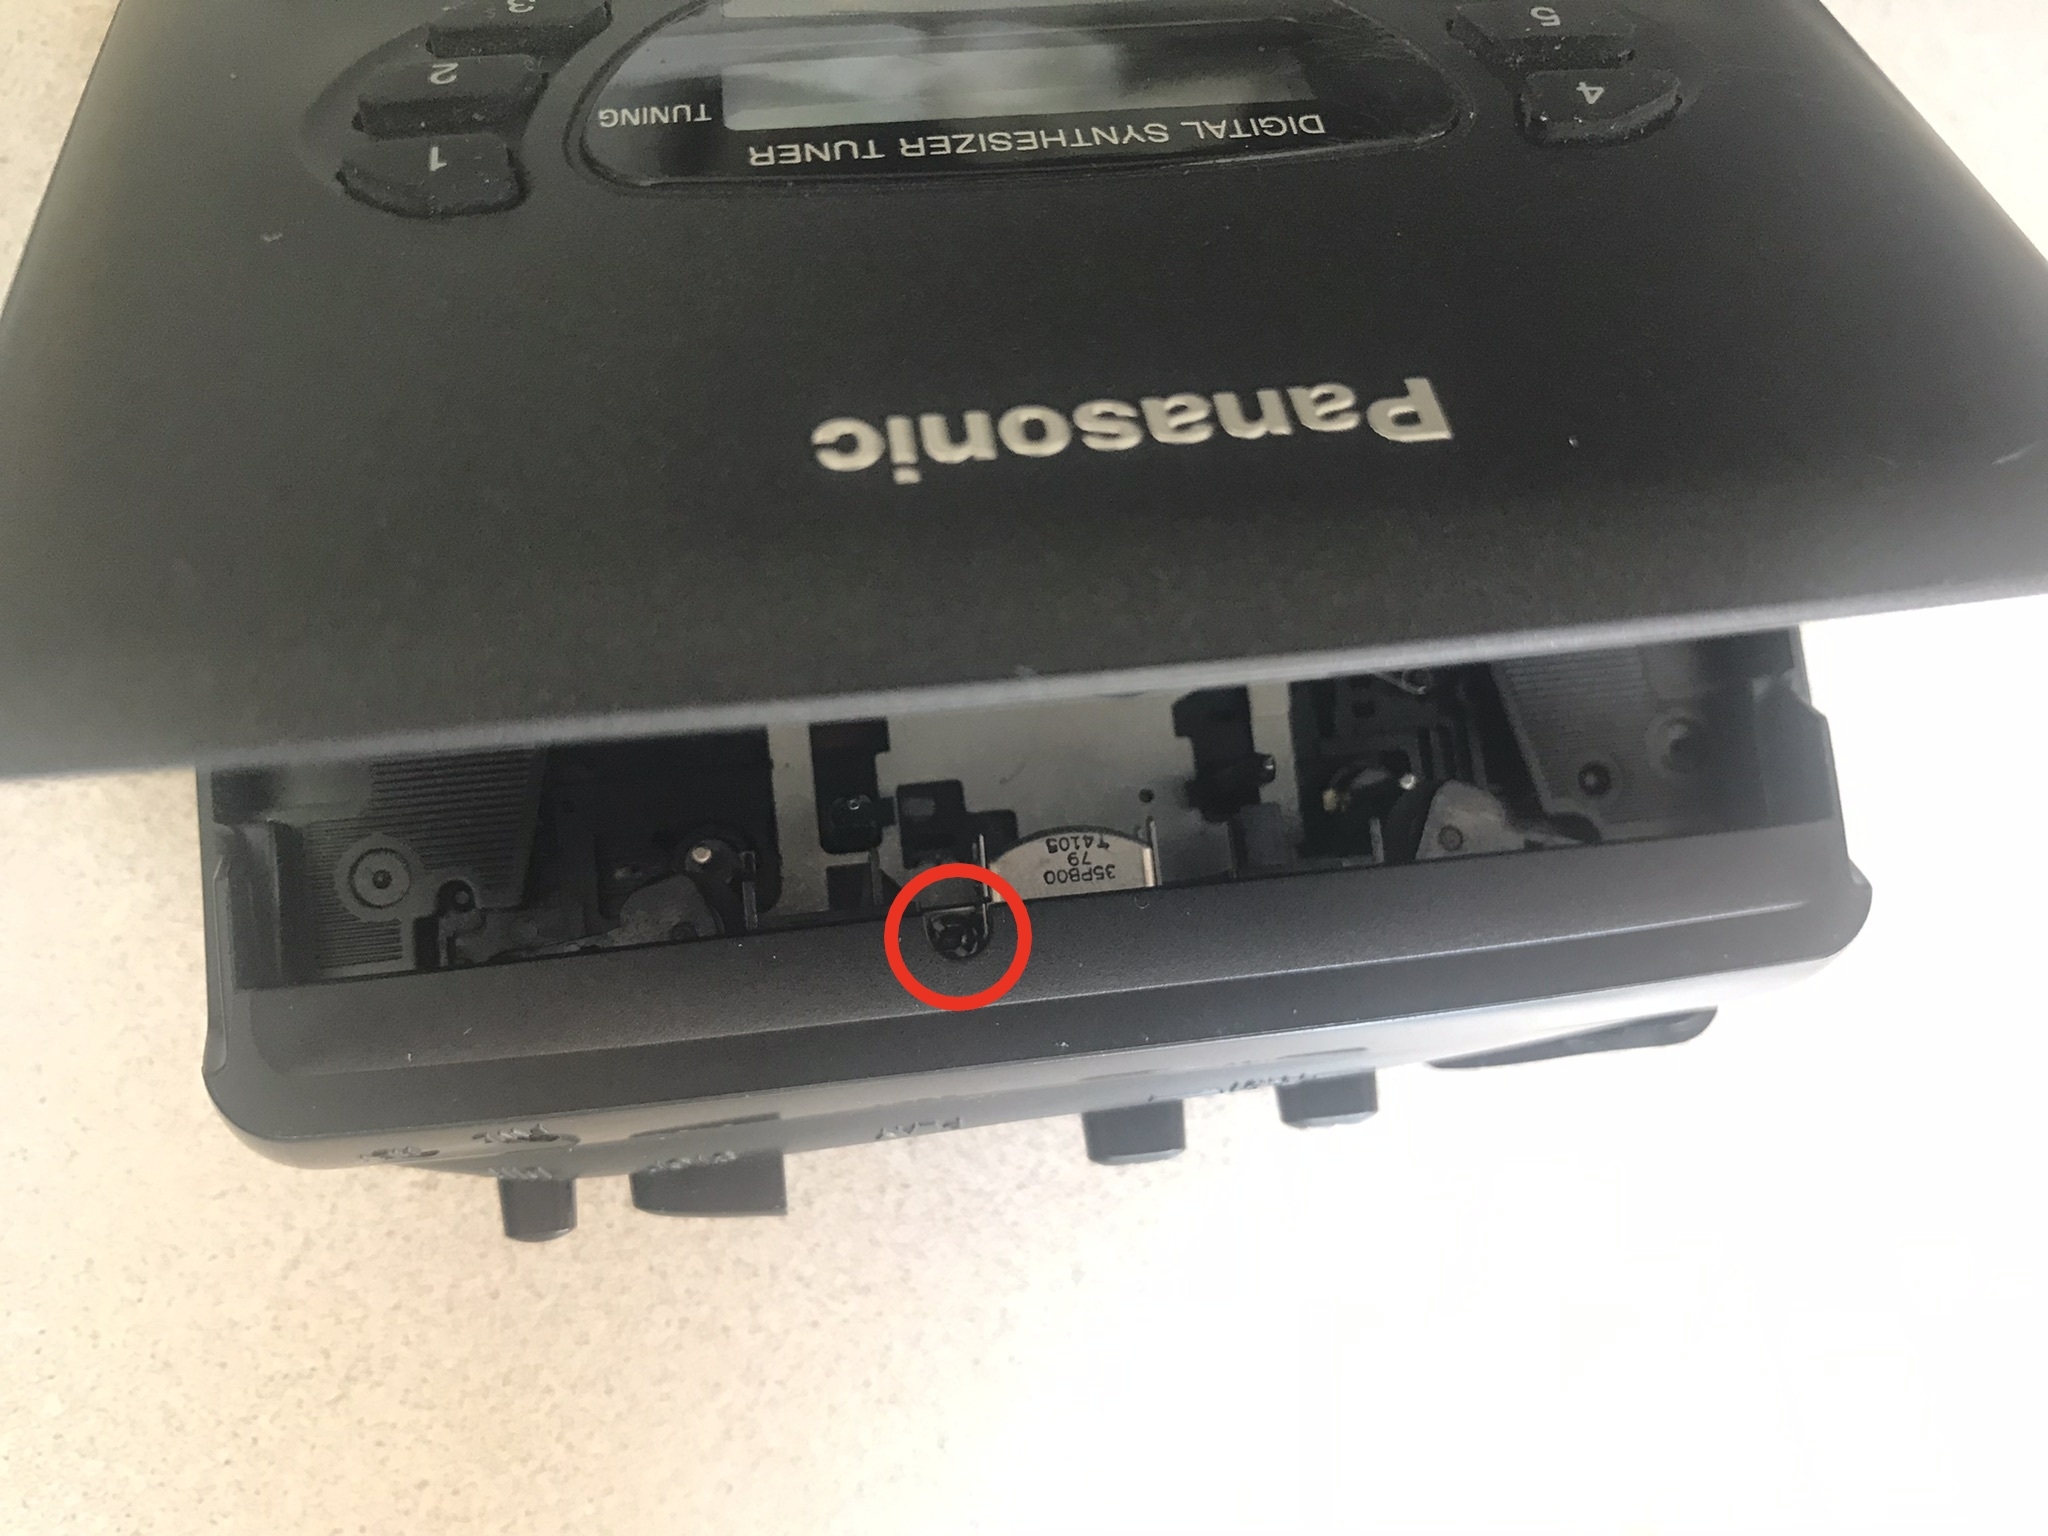
The first of these is phase. This refers to the angle of rotation of the tape head in relation to the tape, and affects a player’s dynamic range. This can typically be adjusted with a screw attached to the side of the head, often accessible simply by opening the player’s door and engaging its mechanism, though if not than disassembly is your friend. As with speed adjustment, phase is best adjusted by playing a tape during the process, and turning the screw in either direction until you get the sharpest, clearest sound possible.
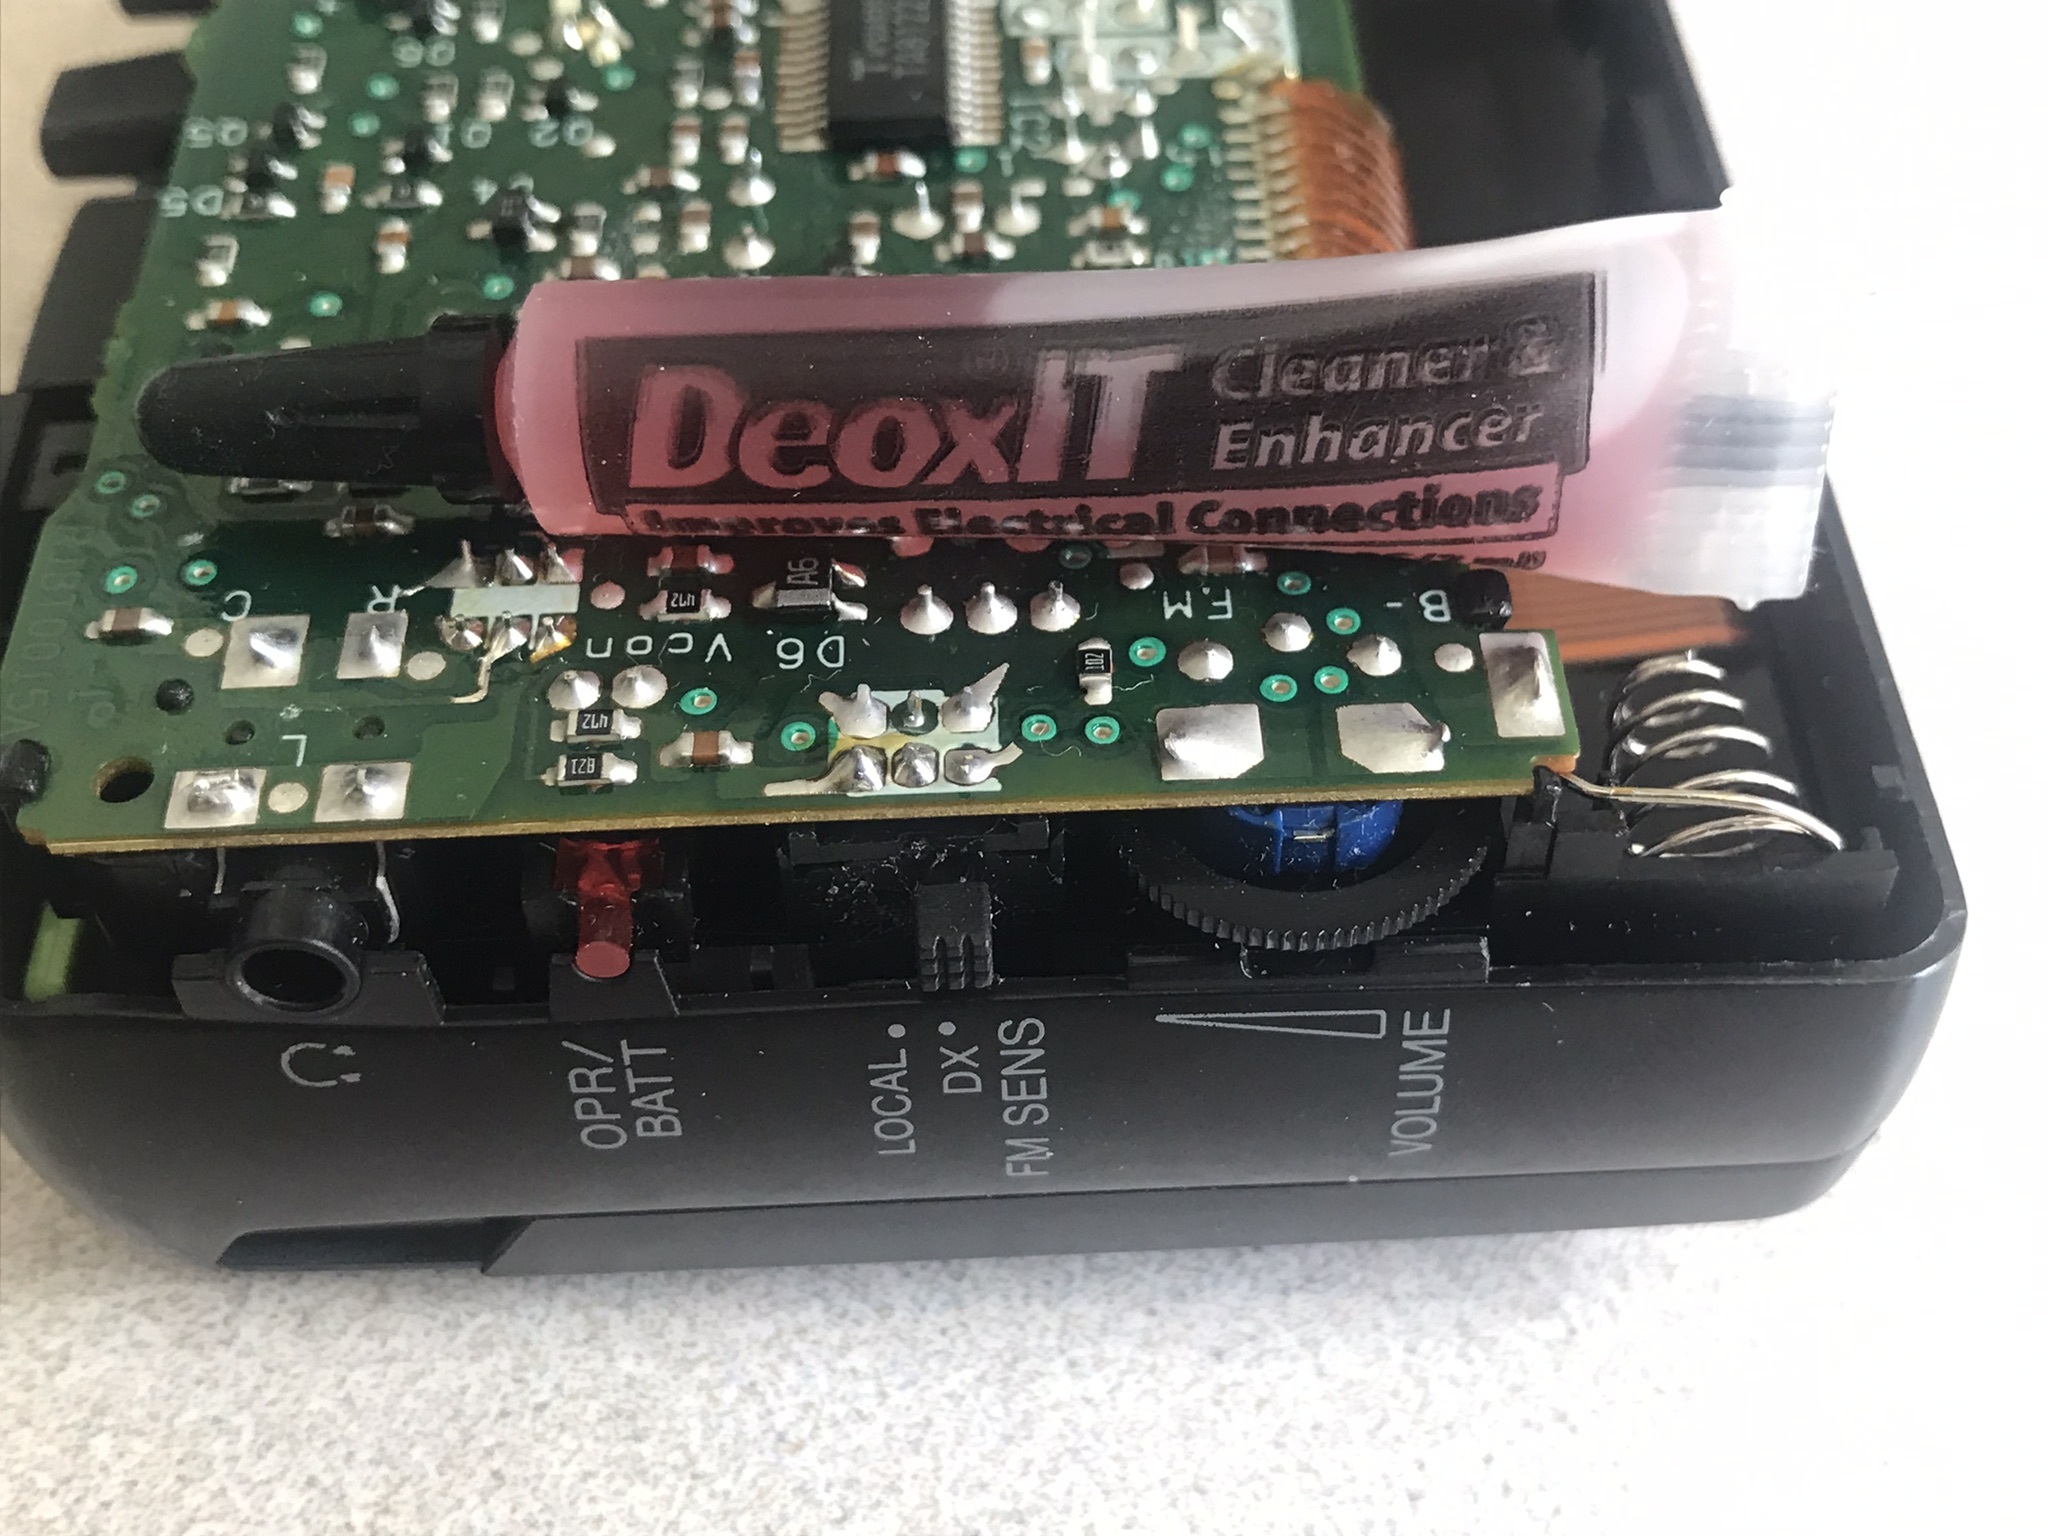
The second adjustment is knob cleaning. In many old players you’ll find that moving the volume knob produces a harsh, crackling noise, and all audio coming out of the player may also have a similar undesirable quality. This can be fixed by simply applying Deoxit or an equivalent deoxidizing solution to the volume potentiometer, a task which like phase adjustment can be done without disassembly but is best done while your player is already in pieces.
The third adjustment is head cleaning. The magnetic tape head that reads and writes signals to a tape can and will get dirty, and it can be cleaned with a simple q-tip and some rubbing alcohol. Tape recorders typically also have a second head for erasing recordings, and if yours does, clean that too. Some even have a third head dedicated to recording; you guessed it, clean that too.

Read head cleaning.
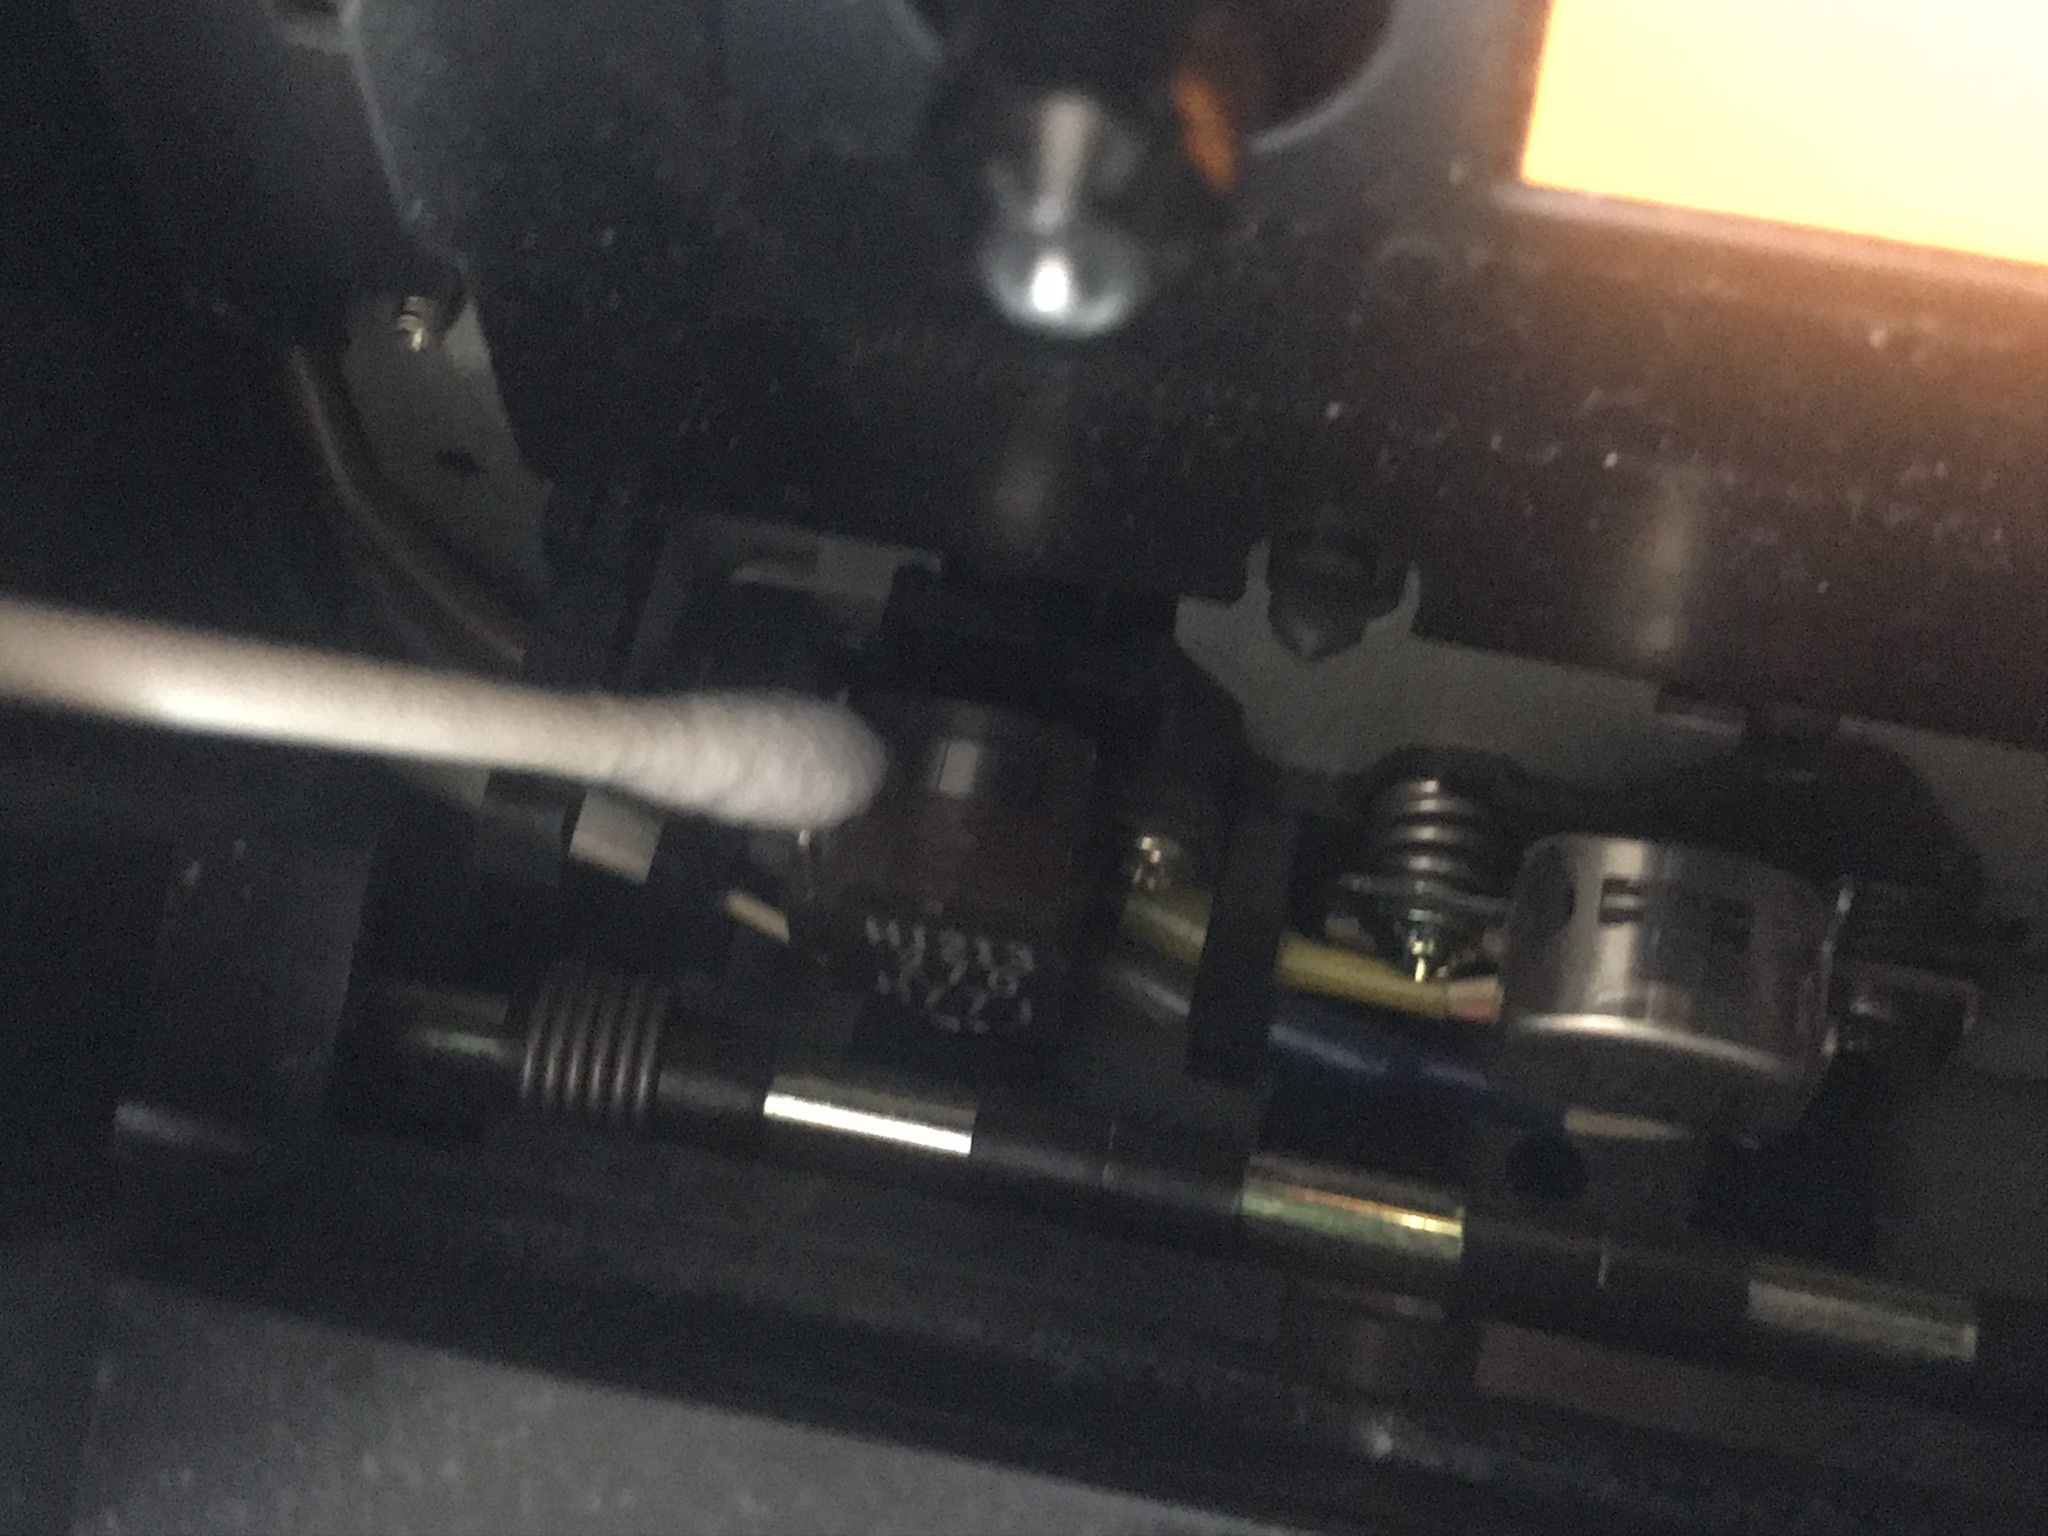
Erase head cleaning.
The final adjustment is lubrication. If, after everything else you’ve done, your player still sounds jittery and/or is making weird noises, you may want to check for joints and contacts that need lubricating.

The Tape Triptych
Now that you know how to get an old cassette player up and running, it’s time to get into recording! The reason I’m placing this section after the repair guide is because a tape mechanism must be in as good a working order as possible to record good tapes. Any defect such as speed or phase mismatch will be imparted upon a recording and end up even worse during playback, and that’s if your recorder works in the first place. But once you’ve got all that handled, you’re ready to experience the thing which sets cassettes apart from every other medium.
To get started, one should know about the three kinds of cassette tape. These are known as Type 1, Type 2, and Type 4 (Type 3 was also a thing but never really took on), and they refer to the chemical and magnetic properties of the tape.

The colours of different tape formulations. The topmost is Type 1, the second is cobalt-doped Type 2, the third is chromium Type 2, and the fourth is Type 4. Source: Wikimedia Commons

Each tape type has notches to help recorders distinguish them from each other. Type 1 is the top one, Type 2 is in the middle, and Type 4 is at the bottom. Source: Wikimedia Commons
Type 1, or ferric cassettes, are by far the most common and cheap cassette tapes. The original tape formulation and still made in limited quantities today, they have the most limited acoustic properties but are also the most accessible. Type 2, or chrome cassettes, use a more advanced formulation (which almost always doesn’t actually contain chromium despite the name), that allows for recordings with higher dynamic range and signal strength. However, they are much rarer and more difficult to obtain and record. Type 4, or metal cassettes, have a significantly higher quality than type 1 or 2 tape, but were exclusive and expensive even in their heyday and are essentially impossible to get now. Their potential audio fidelity is, by some accounts, indistinguishable from compact disc.
All tape recorders are by default compatible with type 1 tapes, but not all can properly record type 2 tapes. This is because they need different bias settings. Bias is the amount of additional current a recorder applies to tape in order to achieve linear signal response, and thus the ideal amount differs based on the magnetic properties of the tape. Even tapes of the same type sometimes need different bias settings.
Tape recorders that allow bias setting will typically either have an adjustment knob, a tape type switch, or an automatic selection mechanism. In the case of knobs, optimal values for bias adjustment can be found either online or on a cassette’s packaging. Bias switches on the other hand usually have “normal” and “chrome/metal” as their two settings, though some have seperate chrome and metal settings. Automatic selection decks simply use the notches on different cassette types to detect and set bias accordingly.
Okay. With that out of the way, it’s time to record!
Just For the Record
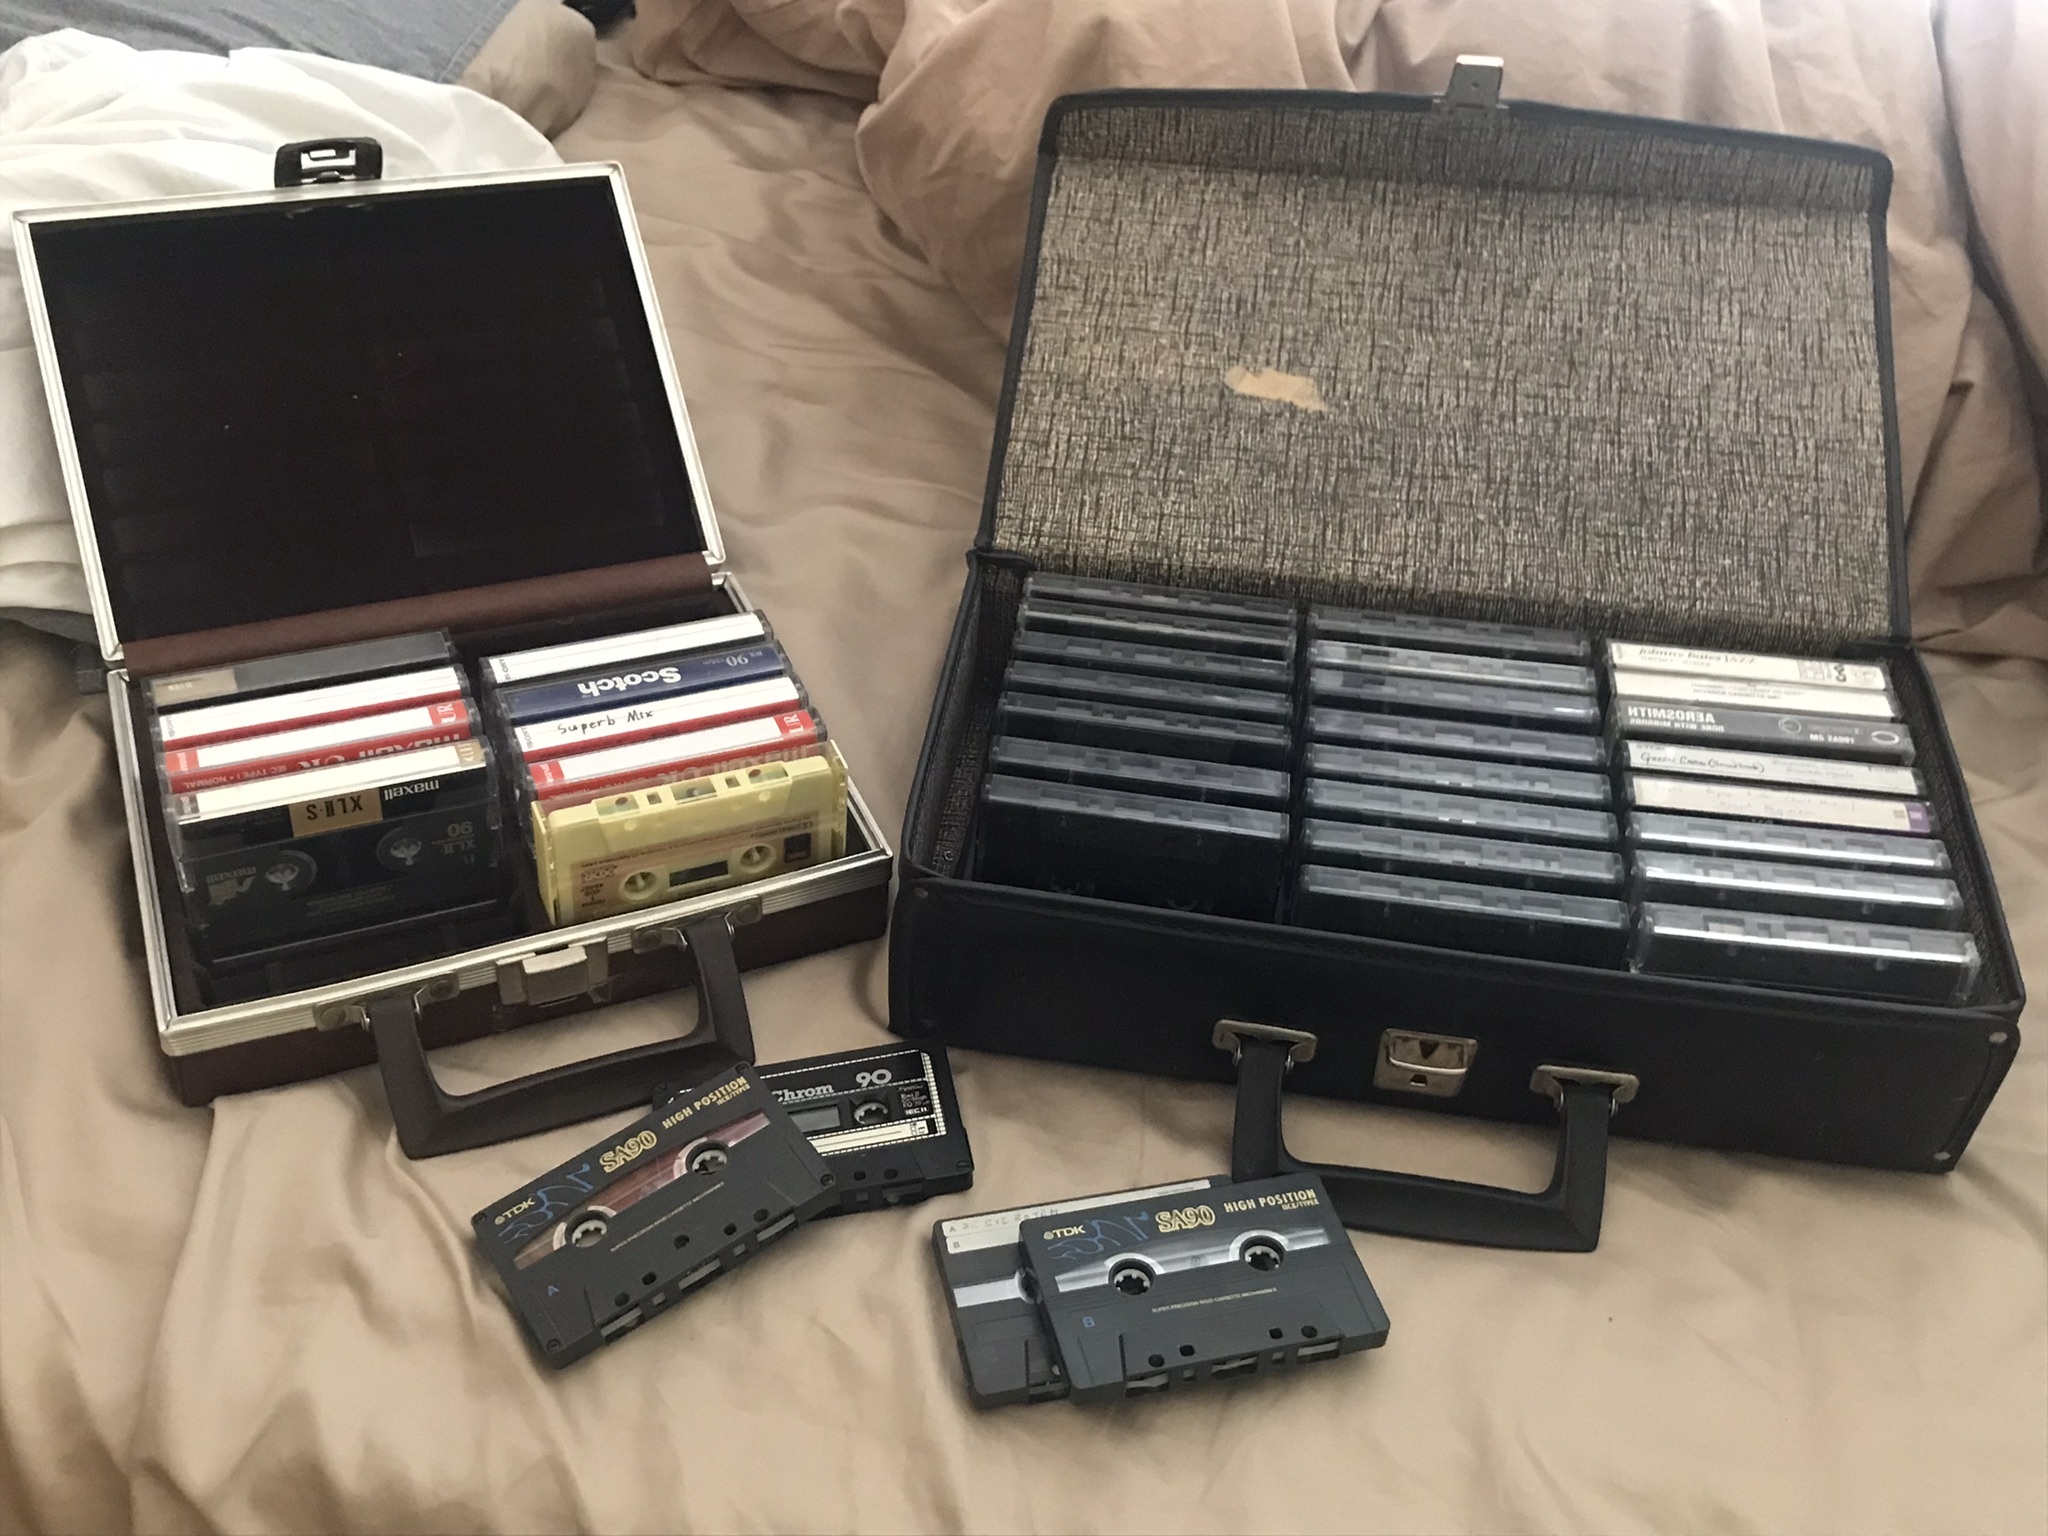
Part of my cassette collection. I got lucky and found dozens of Type 2 tapes in an e-waste dump.
To boot, get yourself a tape to record on. If you can’t find a blank tape, you can instead do the old trick of putting adhesive tape over the notches of a prerecorded cassette, which tricks your recorder into thinking it’s a blank. Put it in your deck, select the right tape type (if needed) and plug in an input and output. Now, find some media. I recommend downloading some high-quality music files and compiling a playlist; since recording from digital to tape always results in a reduction of quality, aim for the highest fidelity source possible. FLACs and WAVs are great, and Soulseek is your friend. Mics also work just fine, though, if you have other ideas in mind. Also, I’ll be using my Akai dual deck as an example for this guide, but the information should apply to most other recorders.

My recording setup. Yep, I have two IBM ThinkPads, both from the same dump I found those Type 2 tapes at. I tried escaping the stereotype at the time, but eventually the twink fate caught up to me.
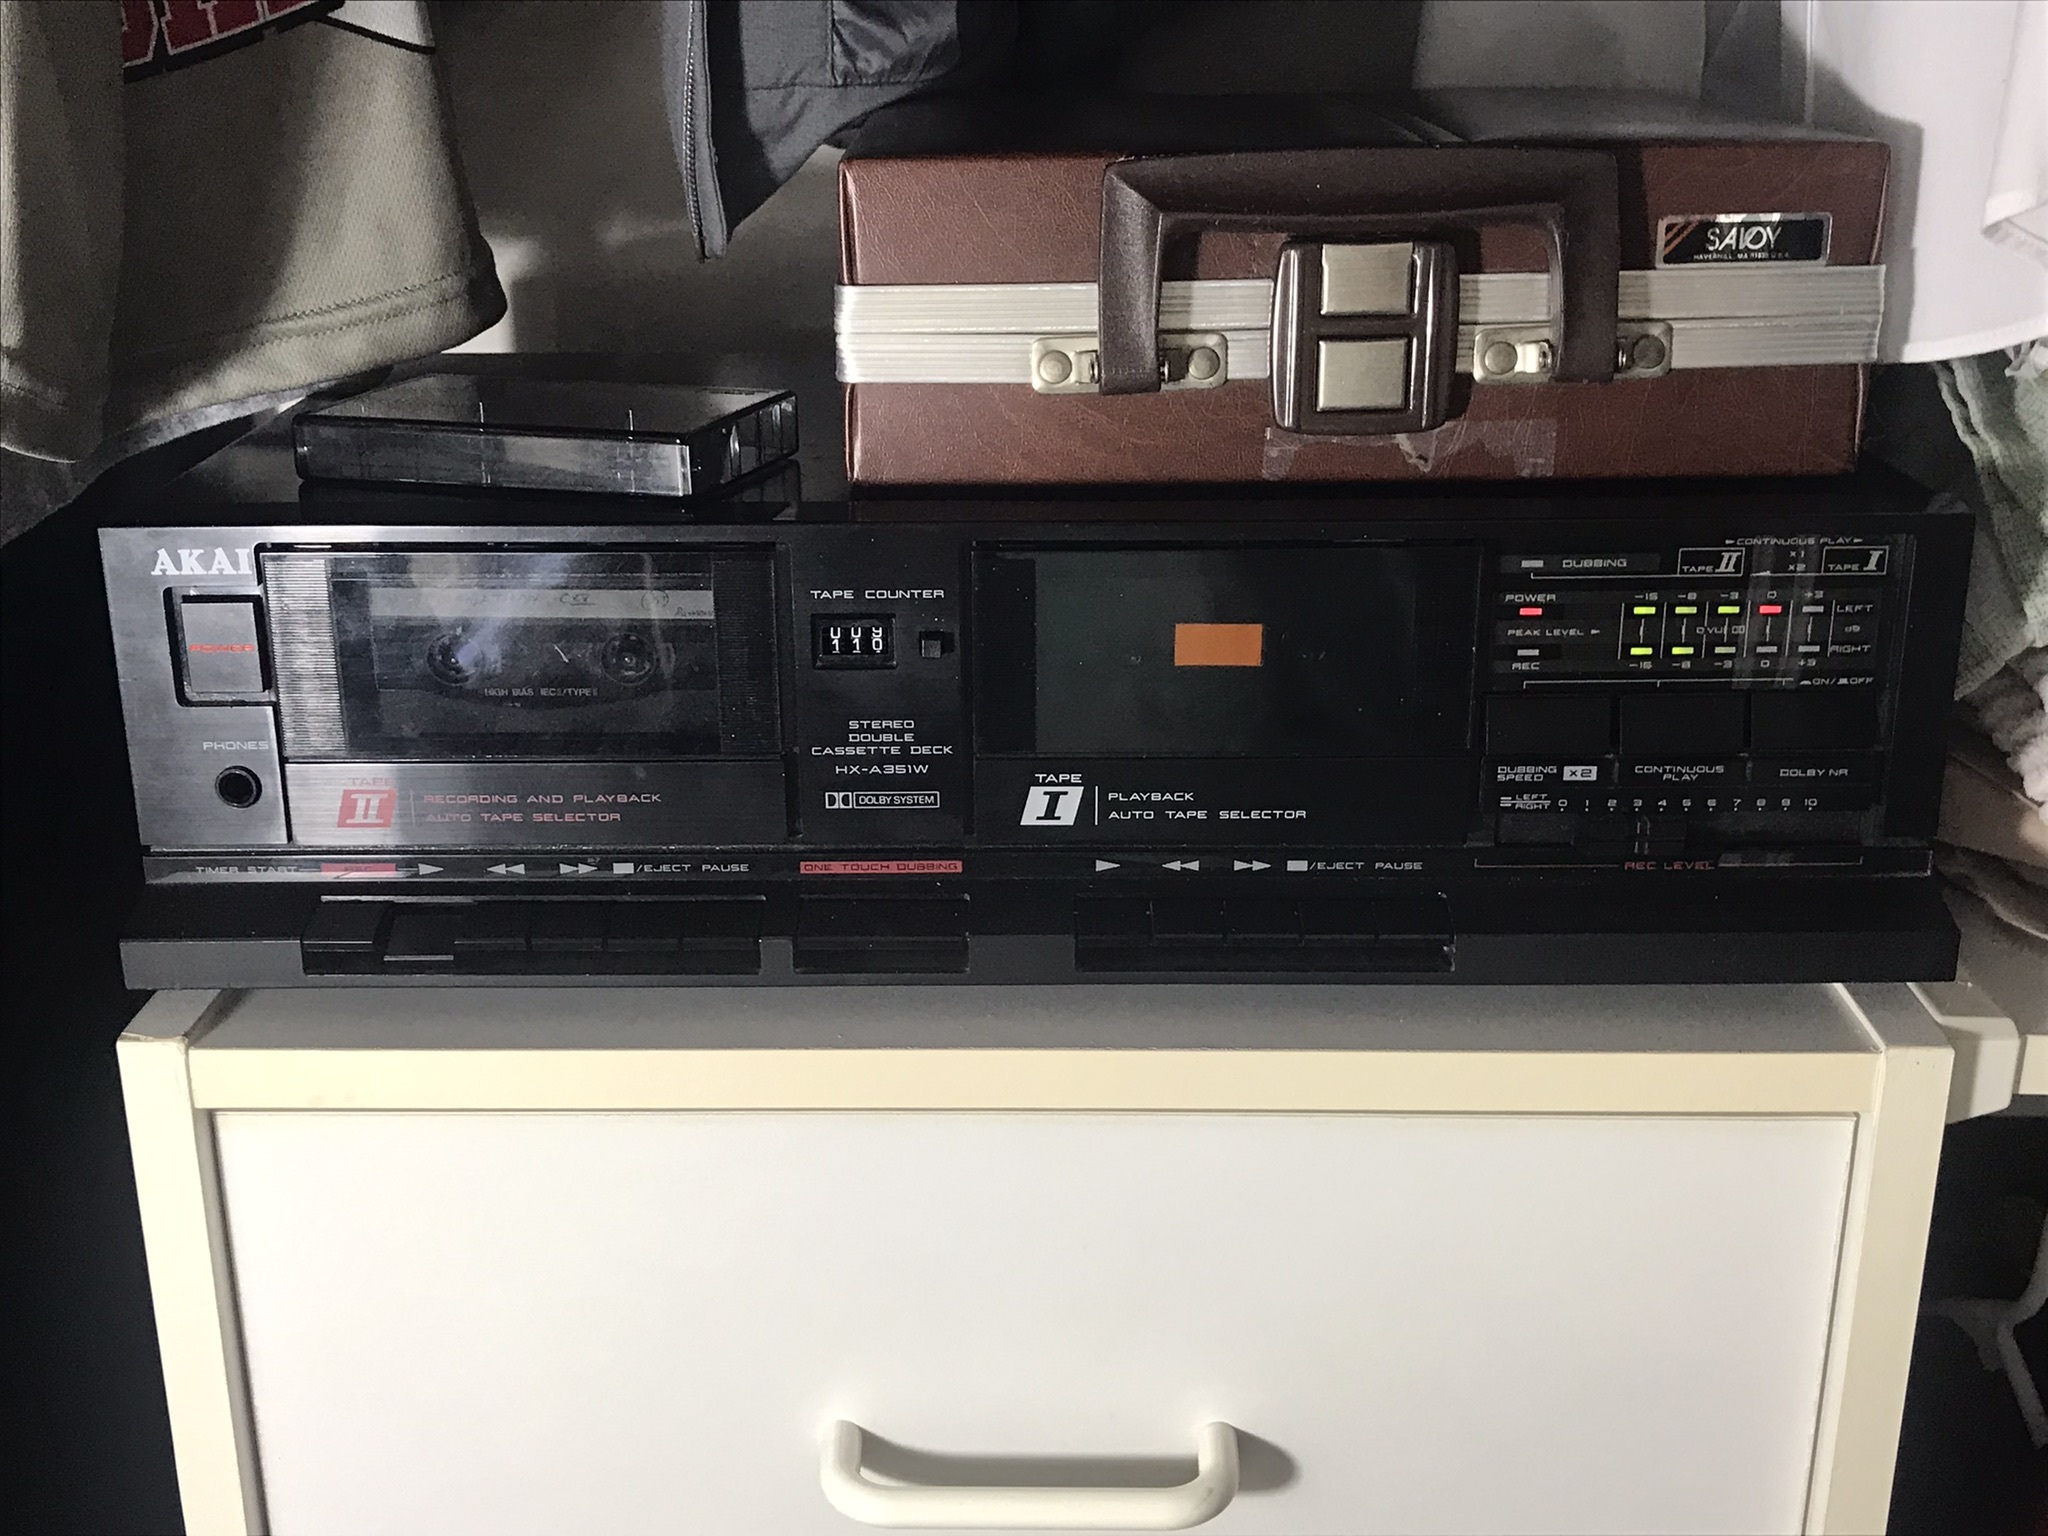
My trusty old Akai HX-A351W. No fancy features; it just works.

Input/output RCA jacks on the back of my deck.
One of the most important things in recording is level (AKA volume) control. Too much level results in distortion, while too little will reveal normally unnoticeable tape hiss. Many recorders have automatic level control, and if yours does you can skip this paragraph, but if not, then our recording will begin with finding the right amount. Press the play and record buttons at the same time and wait for your cassette to advance until the leader (that’s the inert plastic section at the beginning of the tape) gives way to the magnetic section. Then, turn up your source volume to the max, set your level slider/knob to half, then record a few seconds of audio. Now rewind, play it back, and observe your recorder’s volume meter (if it has one) and the quality of the sound. If it’s really quiet to the point where tape hiss is noticeable and the meter is barely showing, then you need to bump up the level. If it sounds distorted and the meter is going into the red, then you need to turn it down. Ideally the playback volume should be as loud as possible while avoiding distortion. Some volume meters have a marker you can aim for. For my Akai deck, 3 is the ideal level setting.

Once you find a good level setting, rewind back to the start of the tape, press record and wait for the leader to pass, play your source audio, and wait. By the way, also make sure your source is split into two segments no longer than the runtime of each side of your cassette, since they’re double sided.
Most decks at this point will play your input audio back as they’re recording. This is pretty useless most of the time except to indicate whether your source is having issues, but it depends on what kind of deck you have. While most cassette decks have two heads, one for erasing and one for recording (as mentioned earlier), some have three, with separate playback and recording heads (also as mentioned earlier). These fancy and elusive three-head decks will play back the actual recording on the tape as it’s being recorded, allowing a direct real-time preview. This is very useful and worth a listen.
By this point, you can leave your setup running and go do something else, maybe use the washroom or brew some tea or go outside or something.

Tea time with my thrifted bootleg TF2 mug!

I don't just touch grass...
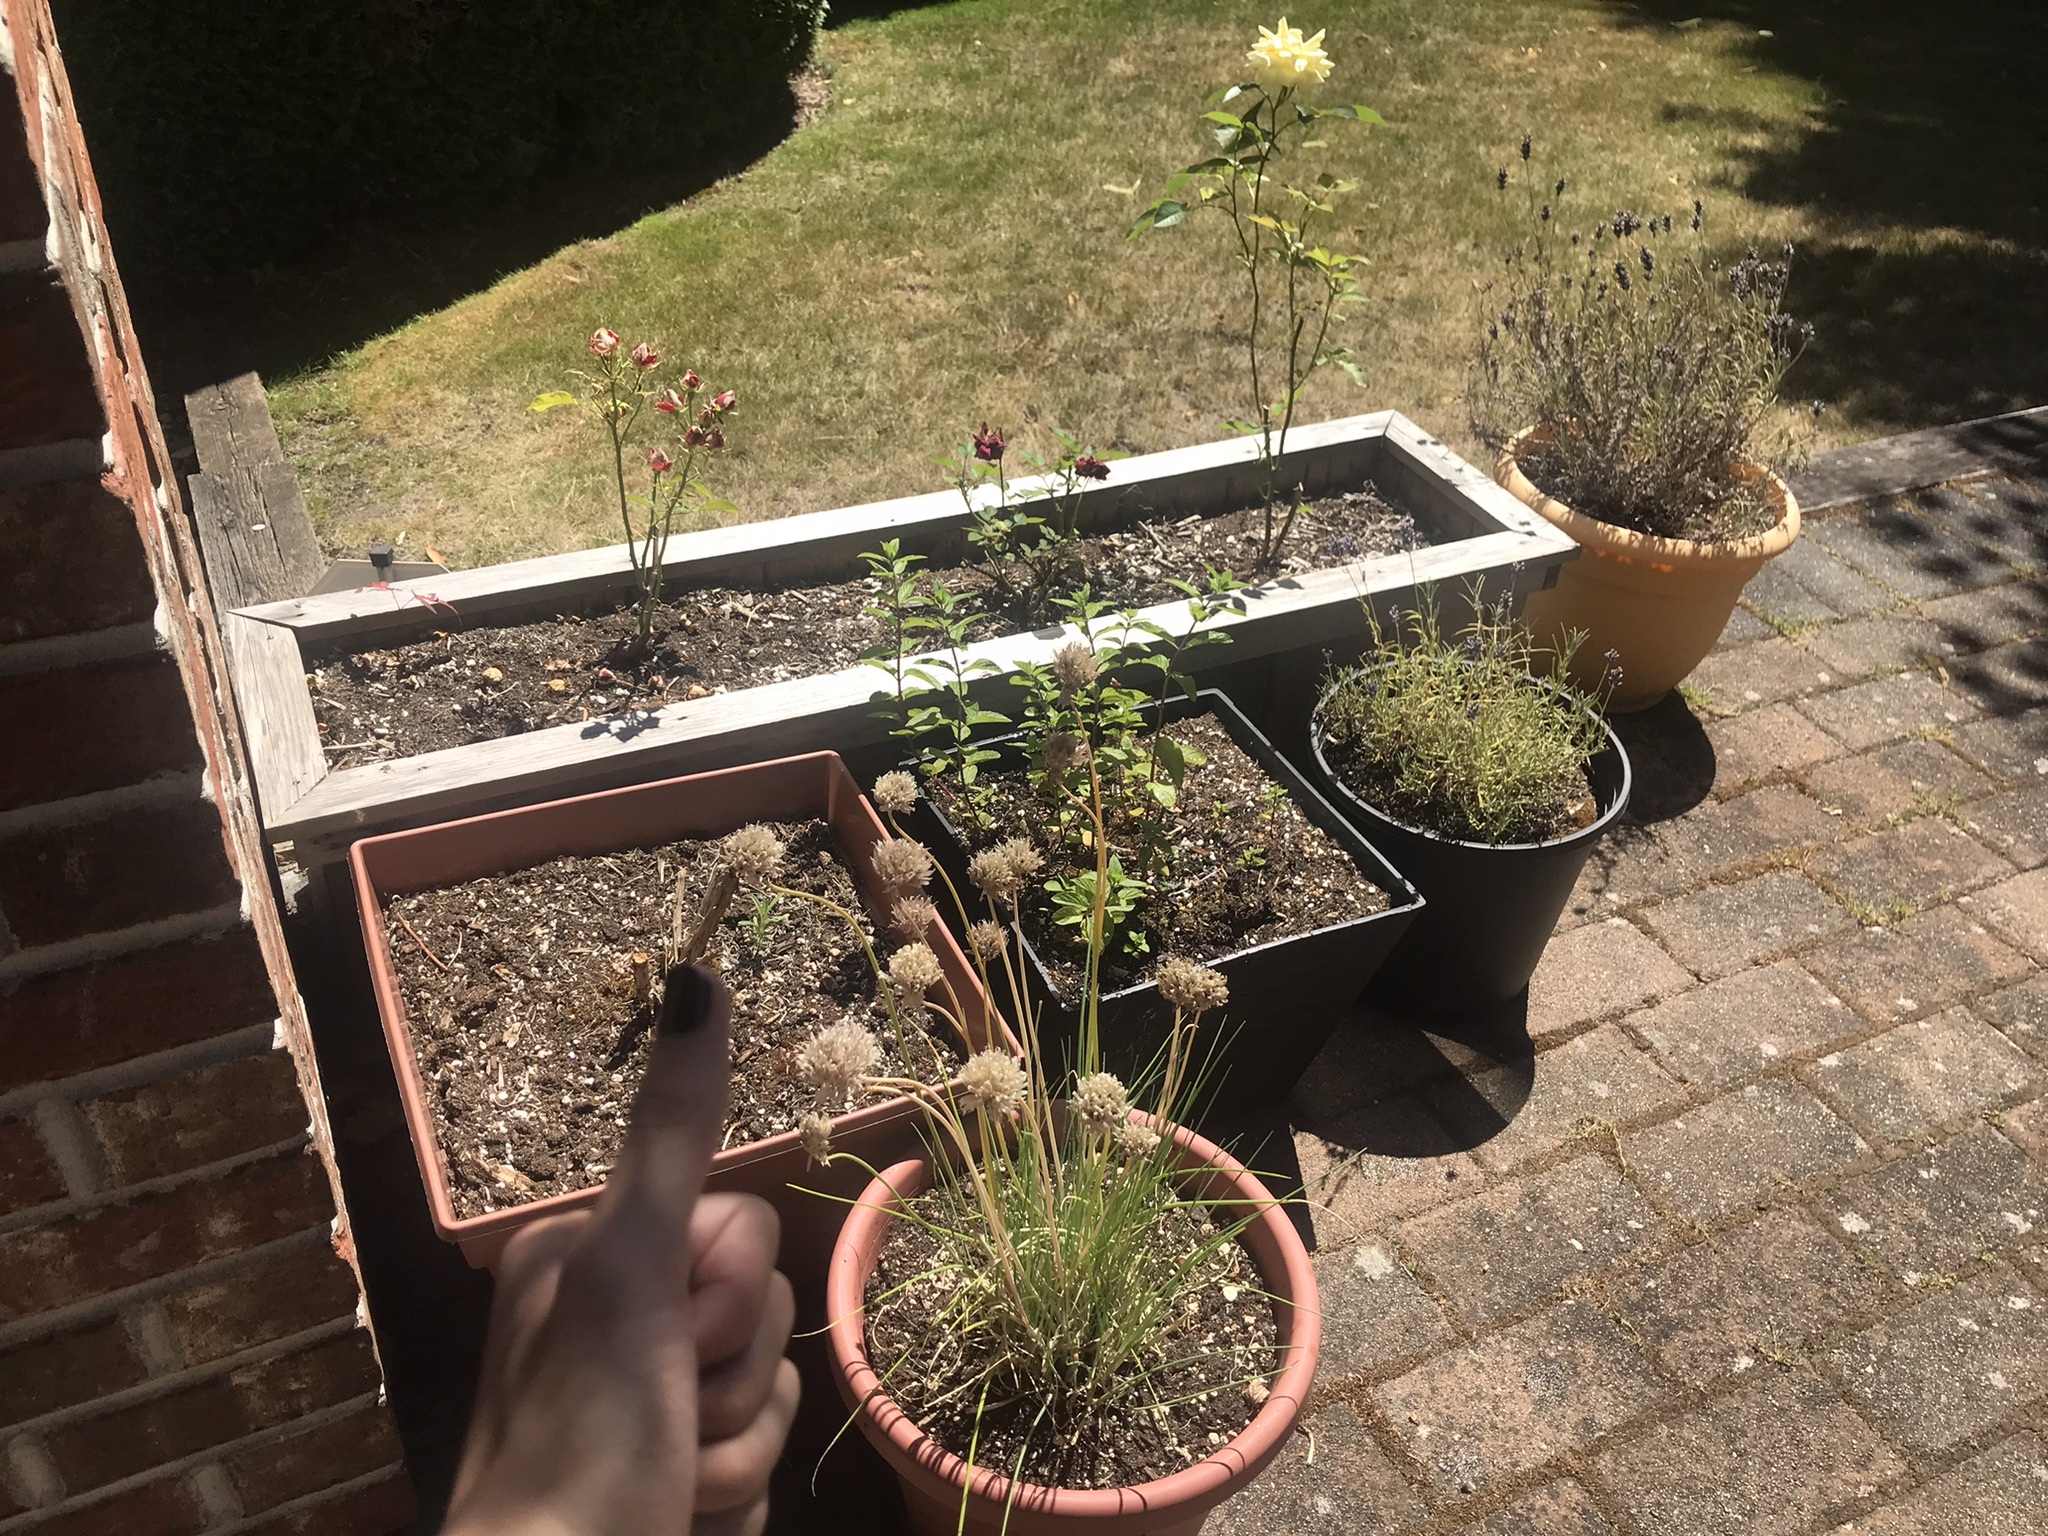
...I grow it on my parents' porch too.
After thirty to forty-five minutes (depending on the length of your cassette), return to your setup, flip your cassette to the other side, and repeat the process. After that, you’re done! Even though I’ve made this out to be a really complicated and involved process, once you have everything set up, it’s actually pretty easy.
There are a couple more things like Dolby noise-reduction and Dolby HX Pro which are features available on some cassette recorders and players, but those are pretty simple to work around. Basically, noise-reduction is a way for recorders to reduce tape hiss, and must be enabled on both the recorder making the tape and the player playing it back to work properly. There are four variants—A, B, C, and S, each with their own quirks and compatibilities but all working via signal companding, but you’ll do just fine without them (especially if you don’t have another noise-reduction capable player). HX Pro, on the other hand, dynamically adjusts bias to accomodate stronger high-frequency signals, allowing clear recordings at higher levels and thus also reducing hiss. The resulting benefits work on any cassette player, so if your recorder has it and you don’t encounter any problems, I recommend leaving it on.
That’s it! That’s literally everything I can think of relating to the technical aspects of cassette recording, from repair and maintenance of the recorder itself to the properties of cassette tapes to the actual recording process.
Cassette Culture
While all the technical aspects of cassette recording have been covered by now, there’s much more to recording than that. The social aspect is just as important.
See, while the heyday of mixtapes and bootleg cassettes is long behind us, cassette culture still persists into the modern day, and it presents a radically different way of sharing media from what is convention. Their compact format, analog properties, and ability to be recorded set them apart from both vinyl records and compact disc in a way which makes them perfect for music-centred subcultures. Able to fit into a pocket, and containing a raw, analog quality unattainable by the crisp coldness of digital sound, home-recorded cassettes are a common sight in small electronica and punk venues among other indie genres, and are often released in limited batches by local artists and bands. They are a way of saying, hey, I don’t need your record label crap. I’ve got my uncle’s Sony and a stack of bible cassettes with taped-over notches. What better way to take control of music distribution?
Home recordings also allow the physical duplication and distribution of audio free from digital copyright management. Anything with an audio jack can record to cassette, which makes a tape deck among other things a very roundabout way of circumventing the download limitations of a free Spotify account. On a more serious note, the full ownership over recorded audio inherent to compact cassette gives it an intrinsic value which digital formats simply cannot match. A personally curated playlist recorded to a hand-decorated cassette tape makes a unique and thoughtful gift for anyone with a music taste, even if they don’t have a means to play it. It’s like a vinyl record, but carrying a personal touch—the knowledge that someone appreciates you enough to have gone through all the effort of custom-making it. I’ve personally gifted a couple of these, with an overall ecstatic experience resulting for both the recipient and the gifter. The gifted mixtape is a catalyst for interpersonal bonding over music, free from the clutches of digital capitalism.

I forgot to photograph my mixtape gifts, but here’s a CD I gave a friend for her birthday to give you an idea of what I’m aiming for.
In an age where ever more of our lives are under the control of digital fuedal lords, claiming ownership over the entertainment and communication and social media essential to our daily lives, the compact cassette might just be a way out. This humble piece of obsolete technology washed ashore from the river of time may have been forgotten by most, but it still does what it used to—put music into the hands of the people. In a time when more and more is being taken from us, when our digital lives belong to faceless corporations and the rich steal from the poor, what’s wrong with reaching into the past and taking a bit back?
